Configuring Swift Vapor on Fly.io with SQLite
This post is a guide for getting a Swift Vapor server-side app up and running on Fly.io with SQLite as the database provider. The target audience is Swift developers who are inexperienced with servers and deployment.
I’m assuming you’ve already chosen Vapor, SQL, and Fly.io as your tools of choice and therefore will not discuss any of their tradeoffs.
The below setup using SQLite avoids the operational complexity of maintaining a full Postgres server. Especially as a beginner that does not need the full breadth of functionality Postgres offers beyond SQLite. This is a worthwhile tradeoff for:
- Toy apps that still need 24/7 network access
- Prototypes and proof-of-concepts intended for a limited audience
- Bespoke apps for you and your friends
However, the primary constraint of using SQLite (in the strategy described in this post) is that you must only have one server instance (since that server will be hosting both the app and the database). When just starting out this is arguably for the best; your server app implementation can also be simplified by assuming no parallelization.
Fly.io’s pricing is pay-as-you-go so it’s hard predict exactly how much you, the reader, will be on the hook for. As of this writing, provisioning a system described in this post that is stopped, serving zero requests would be $0.30 USD per month ($0.15/GB for the Machine and $0.15/GB for the Volume). Then you will pay usage based on how long your machine is awake for and how much bandwidth you use. You should monitor your usage closely. Going along with the intended use cases, this post will assume you want the absolute cheapest of everything.
If you’re looking for a more robust database solution in the same vein, my previous post discusses Fly.io Managed Postgres Service but is not as thorough a walkthrough as this post. Note: there’s another Fly.io Postgres-related service called Fly Postgres which is more like Postgres configured into a separate Fly.io App instance (make sure not to get tripped up when reading the docs and forum posts).
Strategies for automated backups, automatic failovers, high availability, or basically anything you need for a production deployment are mentioned briefly at the end of the post. Note also that the particular setup described in this post specifically disallows multiple machines; you are locked into one machine running in one region (great for limiting complexity, awful for production-quality customer service).
On successful deployment, you’ll have an app accessible via the public interface at myapp.fly.dev.
Prerequisites
This guide assumes you have:
- A working Vapor app (we’ll use “myapp” as an example)
- Basic familiarity with the
flyCLI - Your app already builds and runs locally with or without an existing Postgres integration
We will not cover any sort of data migration.
Step 1: Project Structure
Your Vapor project should look like this:
myapp/
├── Package.swift
├── Dockerfile
├── fly.toml
├── Sources/
│   └── App/
│       ├── configure.swift
│       ├── routes.swift
│       └── ...
Step 2: Configure Package Dependencies
First, update your Package.swift to use SQLite (instead of PostgreSQL):
// Package.swift
let package = Package(
    name: "myapp",
    platforms: [
        .macOS(.v12),
    ],
    dependencies: [
        .package(url: "https://github.com/vapor/vapor.git", from: "4.0.0"),
        .package(url: "https://github.com/vapor/fluent.git", from: "4.0.0"),
        .package(url: "https://github.com/vapor/fluent-sqlite-driver.git", from: "4.0.0"), // <- SQLite driver
    ],
    targets: [
        .target(
            name: "App",
            dependencies: [
                .product(name: "Fluent", package: "fluent"),
                .product(name: "FluentSQLiteDriver", package: "fluent-sqlite-driver"), // <- SQLite driver
                .product(name: "Vapor", package: "vapor"),
            ]
        ),
        .executableTarget(name: "Run", dependencies: [.target(name: "App")]),
    ]
)
Step 3: Configure Database in Vapor
Update your configure.swift to use environment-based database paths:
// Sources/App/configure.swift
import Fluent
import FluentSQLiteDriver // ← Import SQLite driver
import Vapor

public func configure(_ app: Application) throws {
    // Configure SQLite database with environment-based paths
    let databasePath: String
    if app.environment == .production {
        // Production: Use volume-mounted path
        databasePath = "/data/db.sqlite"
    } else {
        // Local development: Use project root
        databasePath = "./db.sqlite"
    }

    app.databases.use(.sqlite(.file(databasePath)), as: .sqlite)

    // Add your migrations here
    // app.migrations.add(CreateMyAppModels())

    try routes(app)
}
configure.swift concepts:
- Environment detection: Vapor sets
app.environmentbased on the--env productionflag we pass to theserveandmigratecommands - Volume mount: Production SQLite file lives on persistent storage at
/data/ - Local development: Local/Test SQLite file is created in your project directory
Step 4: Update Dockerfile
If you do not know what you’re doing, you should use the latest Vapor Dockerfile template. Then make the following modifications to include SQLite3 client tools and create the data directory:
# ...

# Install system packages including sqlite3 for database access
RUN export DEBIAN_FRONTEND=noninteractive DEBCONF_NONINTERACTIVE_SEEN=true && \
    apt-get -q update && apt-get -q dist-upgrade -y && \
    apt-get -q install -y ca-certificates tzdata sqlite3 && \
    rm -r /var/lib/apt/lists/*

# ...

# Copy built executable
# ...

# Create data directory for SQLite database with proper ownership
RUN mkdir -p /data && chown -R vapor:vapor /data

# ...

# Start the Vapor service when the image is run, running db migrations if necessary, and default to listening on 8080 in production environment
ENTRYPOINT ["./"]
CMD ["serve", "--auto-migrate", "--env", "production", "--hostname", "0.0.0.0", "--port", "8080"]
SQLite-specific additions:
sqlite3(optional) inspect your db via the remote server console/datadirectory creation with proper ownership--auto-migrateflag runs database migrations on startup
Step 5: Configure fly.toml
Create (via fly launch) or update your fly.toml configuration selectively:
# fly.toml
app = "myapp"
primary_region = "ord"  # <- Choose a single region close to your users
kill_signal = "SIGINT"
kill_timeout = "5s"

[[vm]]
  memory = "256mb"  # <- Lowest available memory & cpus
  cpus = 1

[mounts]  # <- Volume configuration for persistent SQLite storage
  source = "myapp_db"  # <- Matches the volume name you create next
  destination = "/data"  # <- Matches the directory you created in Dockerfile

[http_service]
  internal_port = 8080
  force_https = true
  auto_stop_machines = "stop"   # <- Automatically stops machines when idle (save $$$)
  auto_start_machines = true    # <- Automatically starts machines on first request
  min_machines_running = 0      # <- Allow zero running machines when idle

  [http_service.concurrency]
    type = "requests"
    hard_limit = 200
    soft_limit = 100

  [[http_service.checks]]
    interval = "10s"
    timeout = "2s"
    grace_period = "5s"
    method = "get"
    path = "/"
    protocol = "http"
Fly.io/fly.toml concepts:
- App: Holistic settings describing your application. If you had a production and staging, you’d have two Apps total with similar
Dockerfile/fly.tomlfiles. In our setup, one App will always contain one Machine and one Volume. - VM: Virtual machine specifications (RAM, CPU).
- Machine: The actual running instance of your app. Pairs 1-to-1 with a Volume. Is recreated fresh on each deploy.
- Volume: Persistent disk storage that survives deployments. This is where you can keep your
sqlite.dbfile. - Auto-scaling: Automatically stops/starts machines based on traffic. We set
auto_stop_machines = "stop"to save money assuming that our app has significant idle periods.auto_start_machines = trueautomatically boots a machine when a request comes in. Startup takes about ~2s, so the compromise is that some user requests will be slower than if we kept the server cooking 24/7.
Step 6: Create Fly.io App
Initialize your Fly.io app. Do it from the web interface or using the CLI commands below:
# Create new Fly.io app
fly apps create myapp

# Or if app already exists, verify it
fly status -a myapp

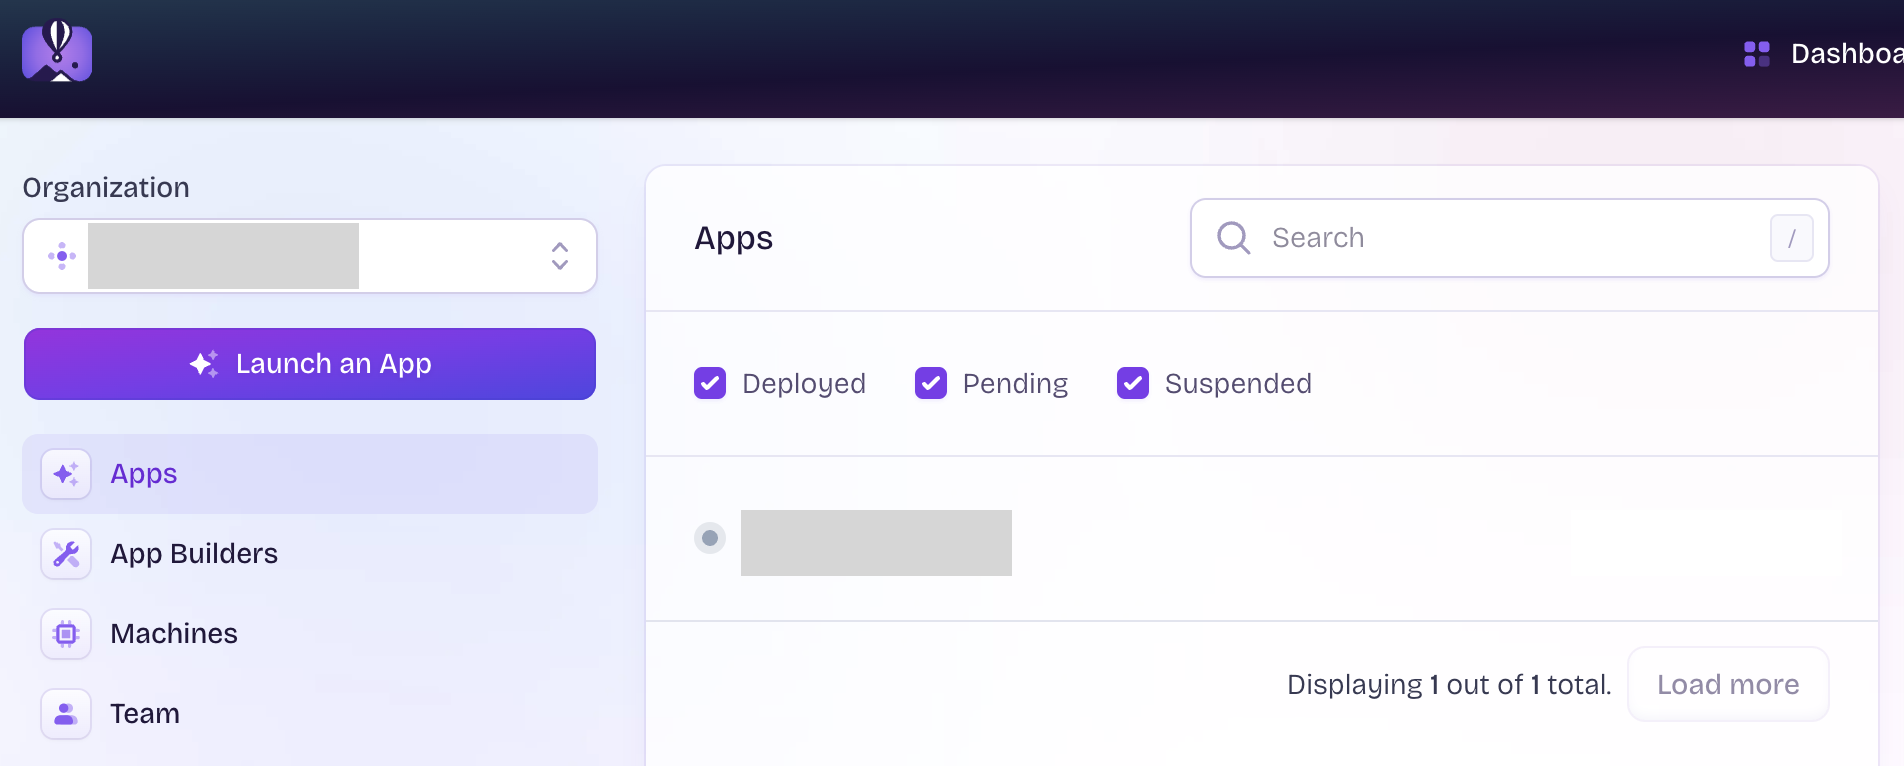
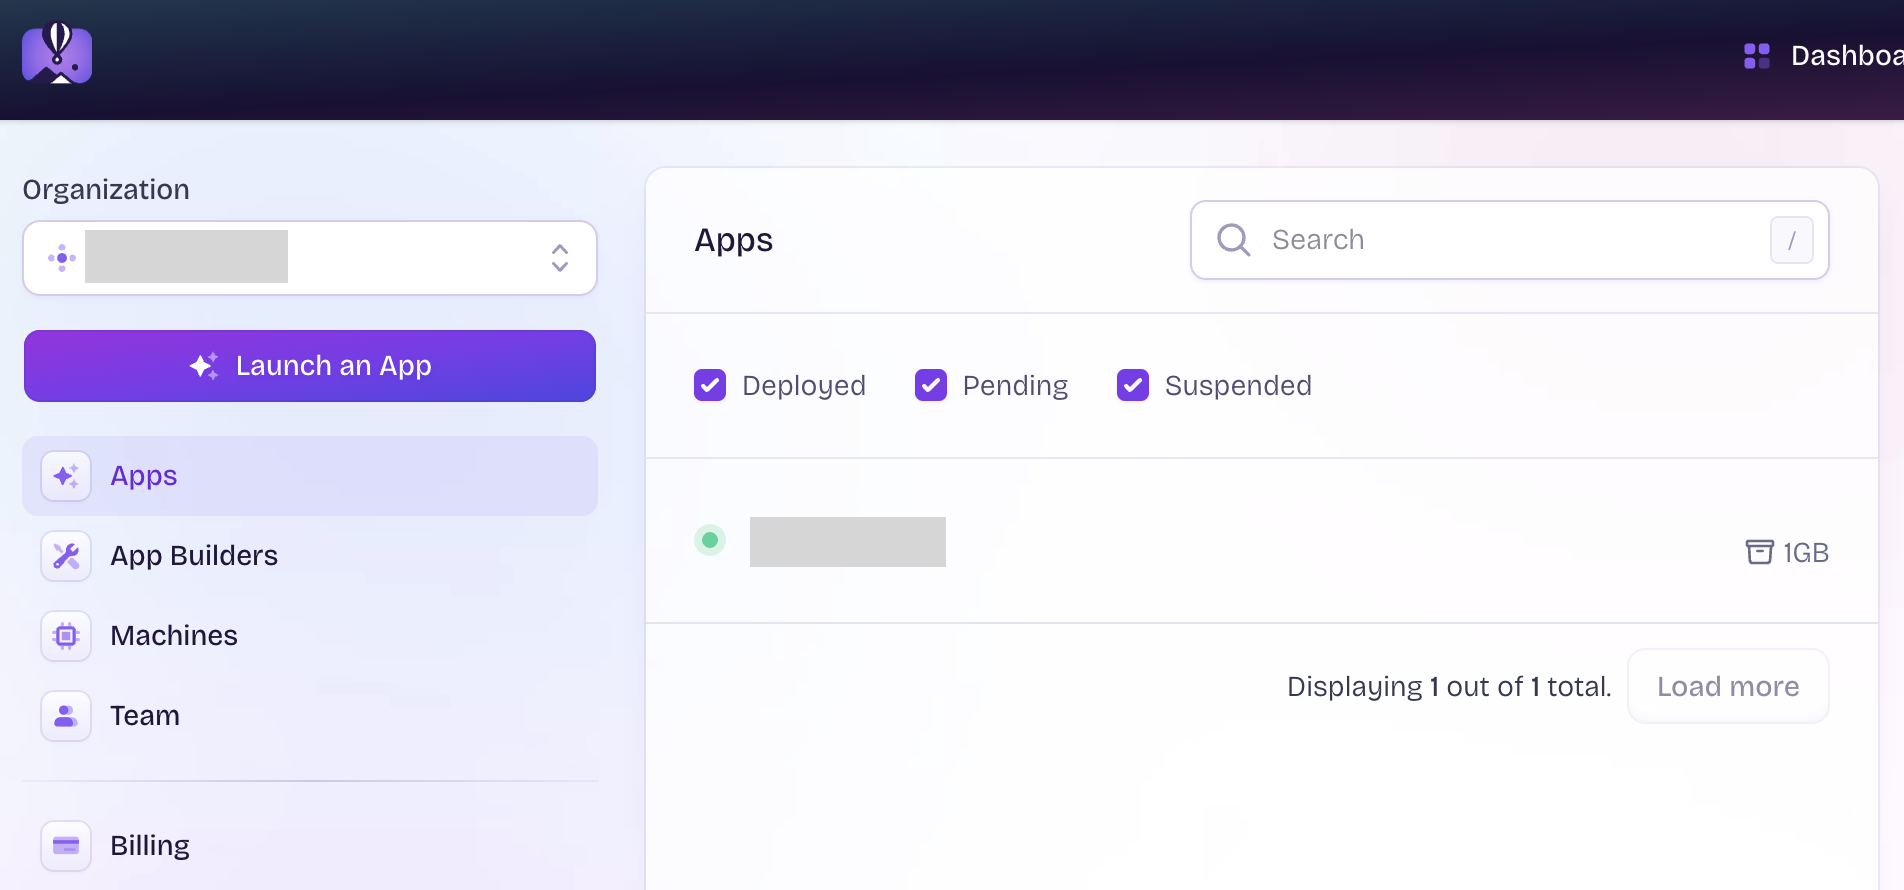
The Fly.io dashboard will show your app in the “Apps” section with a status indicator.
Step 7: Create Storage Volume
SQLite needs persistent storage that survives deployments.
Create a Volume via the web interface or the CLI command below:
# Create 1GB volume for SQLite database
fly volume create myapp_db --region ord --size 1 -a myapp
Volume concepts:
- Persistent storage: Data survives app deployments and restarts.
- Region-specific: Must be in same region as your machine.
- Size: Start small with 1GB (you can expand later if needed).

Verify the volume was created:
fly volumes list -a myapp
You should see output like:
ID                      STATE   NAME     SIZE REGION ZONE ENCRYPTED ATTACHED VM CREATED AT
vol_abc123xyz           created myapp_db 1GB  ord    df19 true                  2 minutes ago
Step 8: Deploy to Fly.io
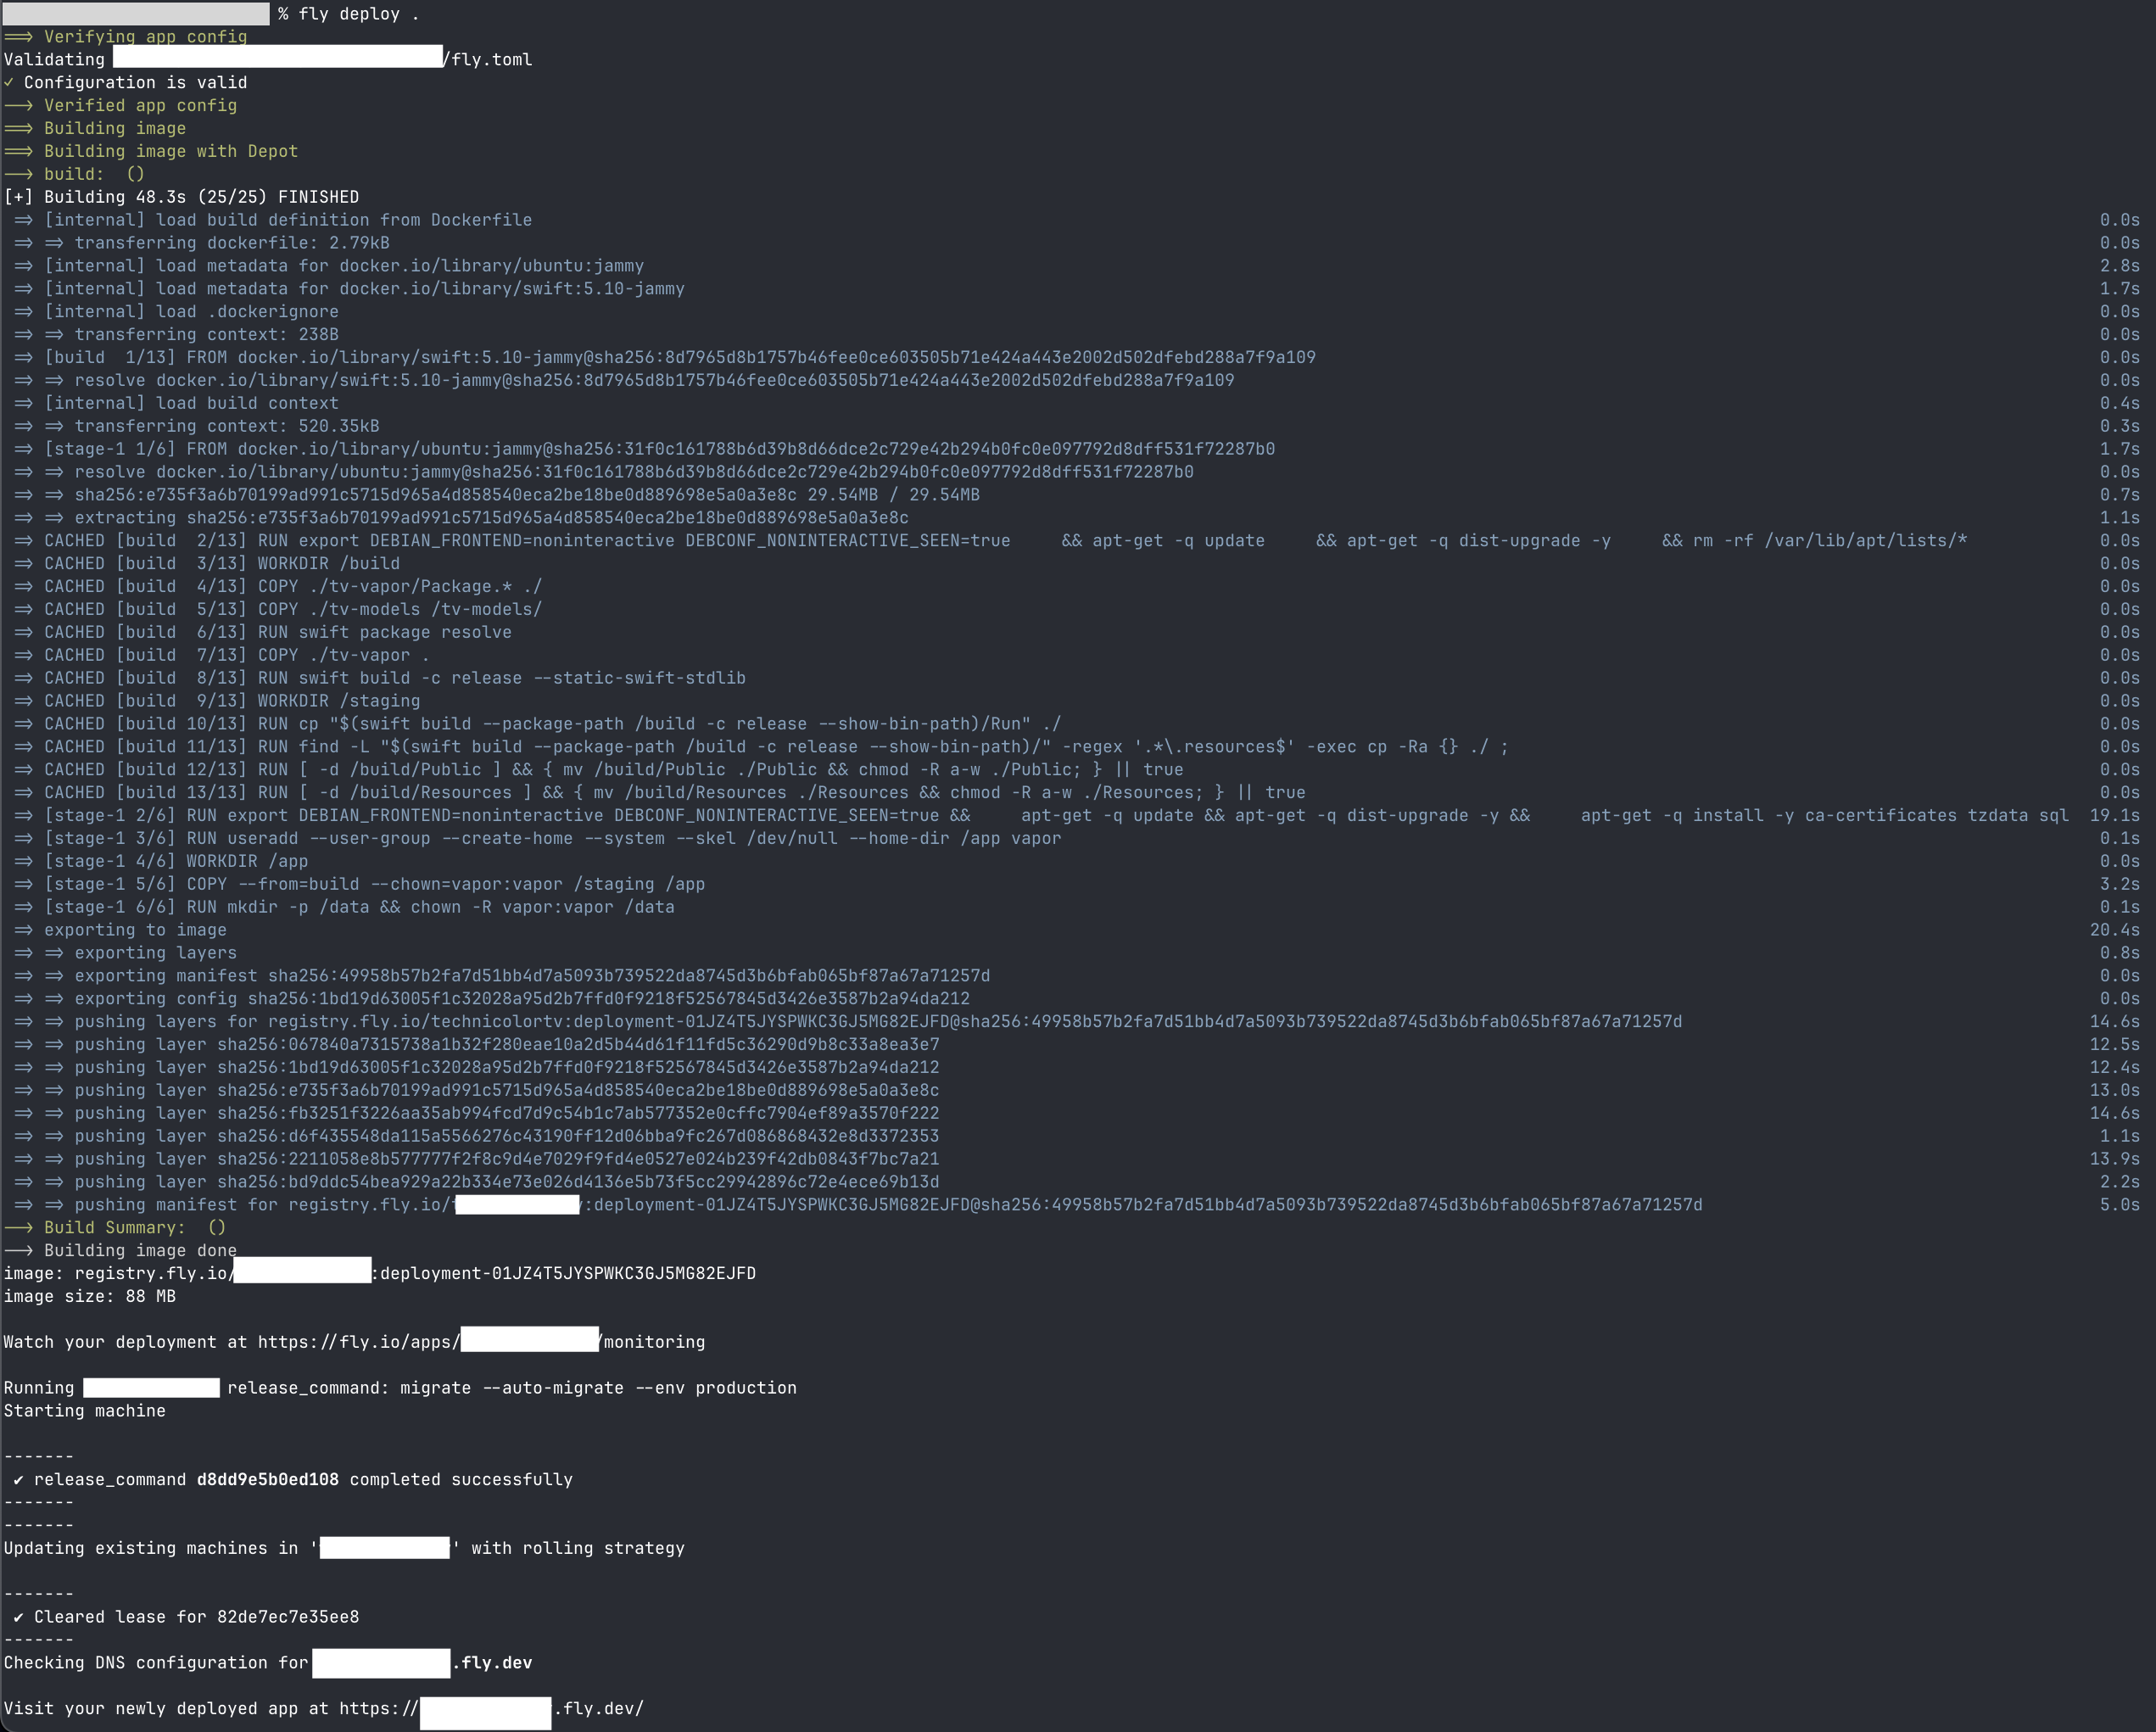
Deploy your app:
# Deploy from your project root directory
fly deploy . -a myapp
This will:
- Build your Docker image (including compiling the Swift binary)
- Create/update the app’s machine with the new image
- Mount the volume to
/dataon the app machine - Run migrations automatically when the app starts (via
--auto-migrateflag)
For a small app, the whole deployment process will take about 5 minutes. If you’re redeploying with no code changes, it’s less than 30 seconds (if the previous docker image can be reused).

During deployment, watch for these log messages:
Machine ... update succeededStarting prepare [database-id: sqlite, migration: ...](during app startup)- Server startup logs indicating successful migration and binding to port 8080
Step 9: Verify Deployment
Check that everything is working:
# Check app status
fly status -a myapp

# Test your app
curl https://myapp.fly.dev/

# View recent logs
fly logs -a myapp
The status should show:
- State:
started - Health Checks: Passing
- Volume: Attached to your machine

Step 10: Access Your Database
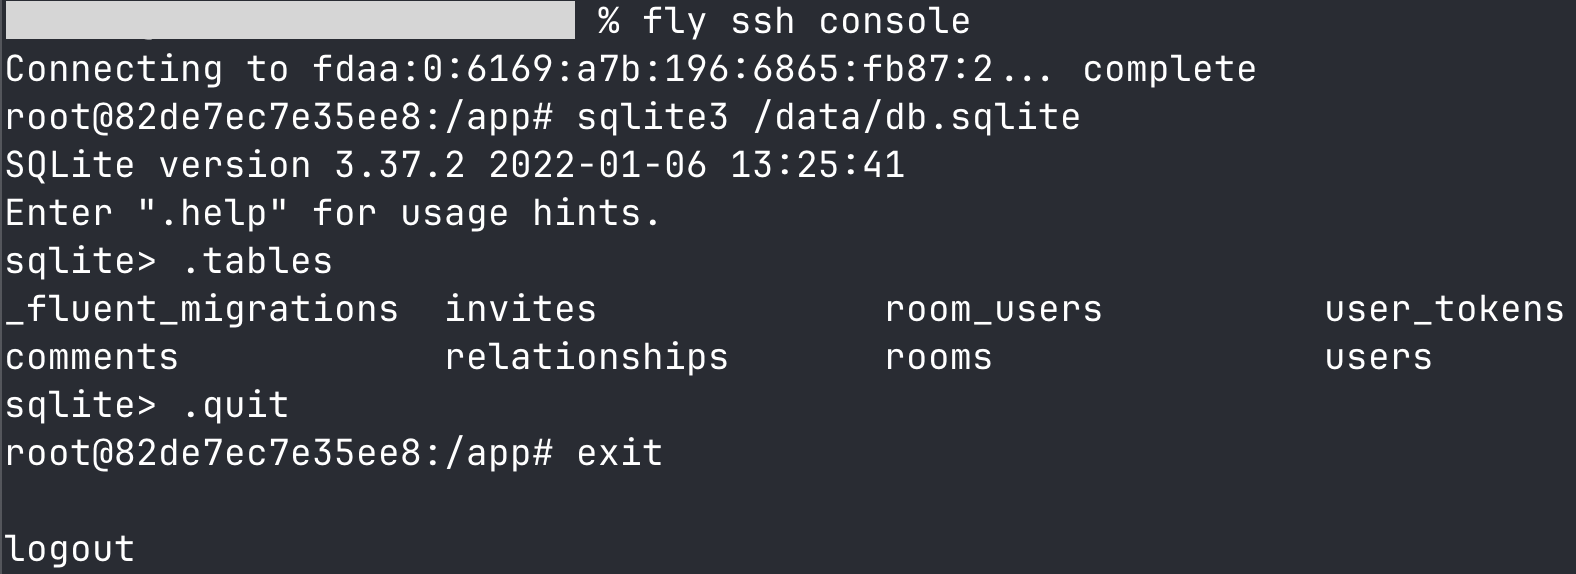
To inspect your SQLite database in production:
# Wake up your machine (if auto-stopped)
curl https://myapp.fly.dev/

# SSH into the machine
fly ssh console -a myapp

# Access SQLite database (sqlite3 is pre-installed)
sqlite3 /data/db.sqlite
Inside SQLite:
.tables          -- List all tables
.schema users    -- Show table structure
SELECT * FROM users LIMIT 5;  -- Query your data
.quit            -- Exit

Local Development
For local development, your SQLite database will be created as ./db.sqlite in your project root:
# Run locally
swift run Run serve --hostname 0.0.0.0 --port 8080

# Access local database
sqlite3 db.sqlite
Troubleshooting
Machine won’t start
# Check machine status
fly machine list -a myapp

# View detailed logs
fly logs -a myapp
Database connection errors
- Verify volume is mounted:
fly ssh console -a myappthenls -la /data/ - Check file permissions: SQLite file should be owned by
vapor:vapor
Volume not attaching
- Ensure volume and machine are in the same region:
fly volumes listandfly machine list. - Volume names in
fly.tomlmust match created volume name exactly.
Backups, and where to go from here
Important: Unlike managed databases, you’re responsible for SQLite backups.
Fly.io automatically creates Volume snapshots with 5-day retention, but these aren’t easily accessible for restore.
Below are some strategies for improving the robustness of your system in approximate order of complexity/reliability:
Irregular manual backup
The most low tech backup solution: copy the database from the server to your local machine whenever you remember to do so.
# Download production database
curl https://myapp.fly.dev/  # wake machine
fly ssh sftp get /data/db.sqlite ./backup-$(date +%Y%m%d).sqlite -a myapp
Regular manual backup
Set a repeating calendar entry or reminder to remind you to run the sftp command.
Automated manual backup
Use a cron job or launchd on macOS to automatically run the sftp command,
S3 object storage backup
Set up an AWS S3 account (or equivalent) with a dedicated bucket to store sqlite backups. Then add a cron job to a GitHub Action to perform the backup from Fly.io to the S3 bucket.
Add Litestream for SQLite backups
See litestream.io.
Add LiteFS to replicate SQLite to multiple machines
See this docs page.
Use Postgres
Congratulations, your app is successful enough to need Postgres.
Summary
Although I’ve tried to cover the most important SQLite bits in the post, each project is unique. Be sure to consult all the latest docs from Fly.io, Vapor, and SQLite.