Eki Bright - The Case for DIY Routing
When I set out making the first prototypes of Eki Bright, my train timetables iOS app for the Tokyo metropolitan area, I had no intentions of tackling routing. In fact, that was one of the selling points; the lack of routing, like lack of maps, made it visually and conceptually simpler for solving the problem of getting the next train departure time at any particular station.
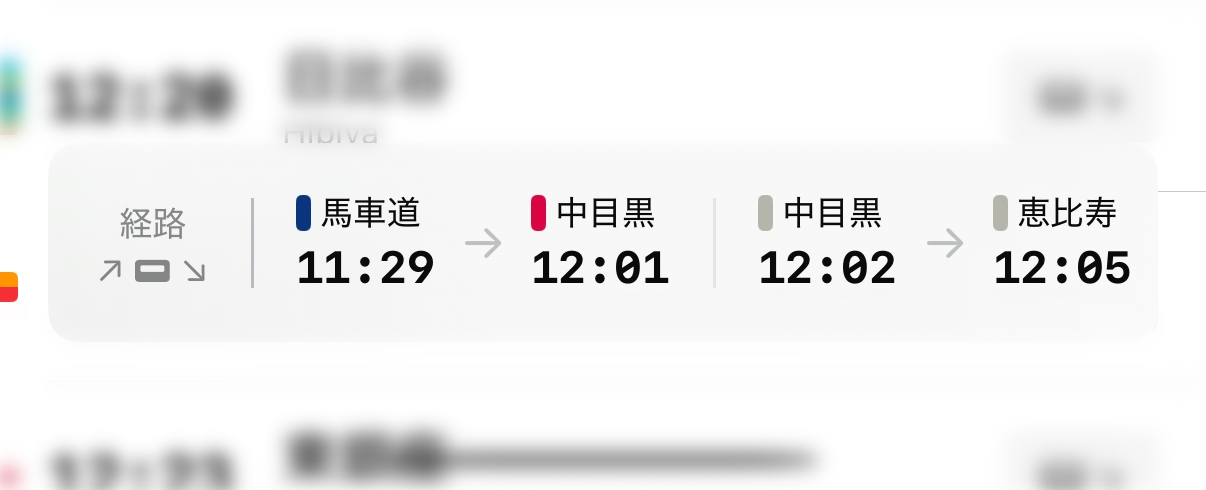
I eventually did add routing, in a form I call DIY routing, but it grew organically out of the existing feature set, and it stays within the same niche as I’ve been targeting thus far: train riders who know where they’re going and how to get there. A tool for power users, so-to-speak.
In this post, I want to make the case for DIY routing: why it’s a useful addition to the full-featured routing apps we all use regularly. I’ve never used anything like DIY routing before, so either it’s already obsolete, or the problem was solved well enough by other apps that no one had bothered to explore other solutions until now.
I’ll use Google Maps the illustrative example of a full-featured routing app. I’ll use 乗換案内 (Norikae Annai or Japan Transit Planner in English) as the illustrative example of a railway-only routing app. And this post will be focused on the Tokyo-area of Japan.
What is DIY routing?
Full-featured routing is choosing your departure point (often “current location” via GPS) and your destination point and allowing a routing algorithm propose several route options to choose from. Each routing option will often include multiple modes (e.g. walk, train, bus) and be optimized based on some goal (e.g. soonest arrival time, cost, complexity).
In contrast, DIY routing is documenting your own train-based route segment-by-segment starting from the departure station. A segment consists of one train and its departure station and arrival station, and therefore scheduled departure and arrival times. Multiple segments can be combined with transfers in-between.
A completed two segment route with one transfer looks like this:

And a screencast of what it looks like assembling this two segment route in the app.
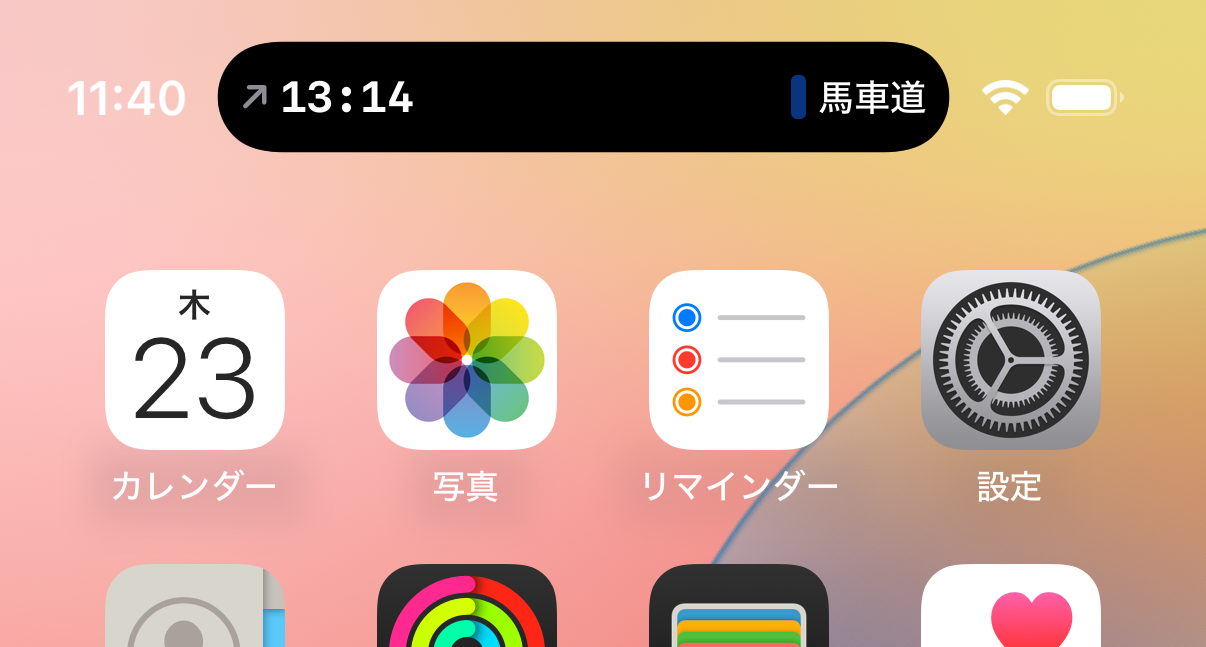
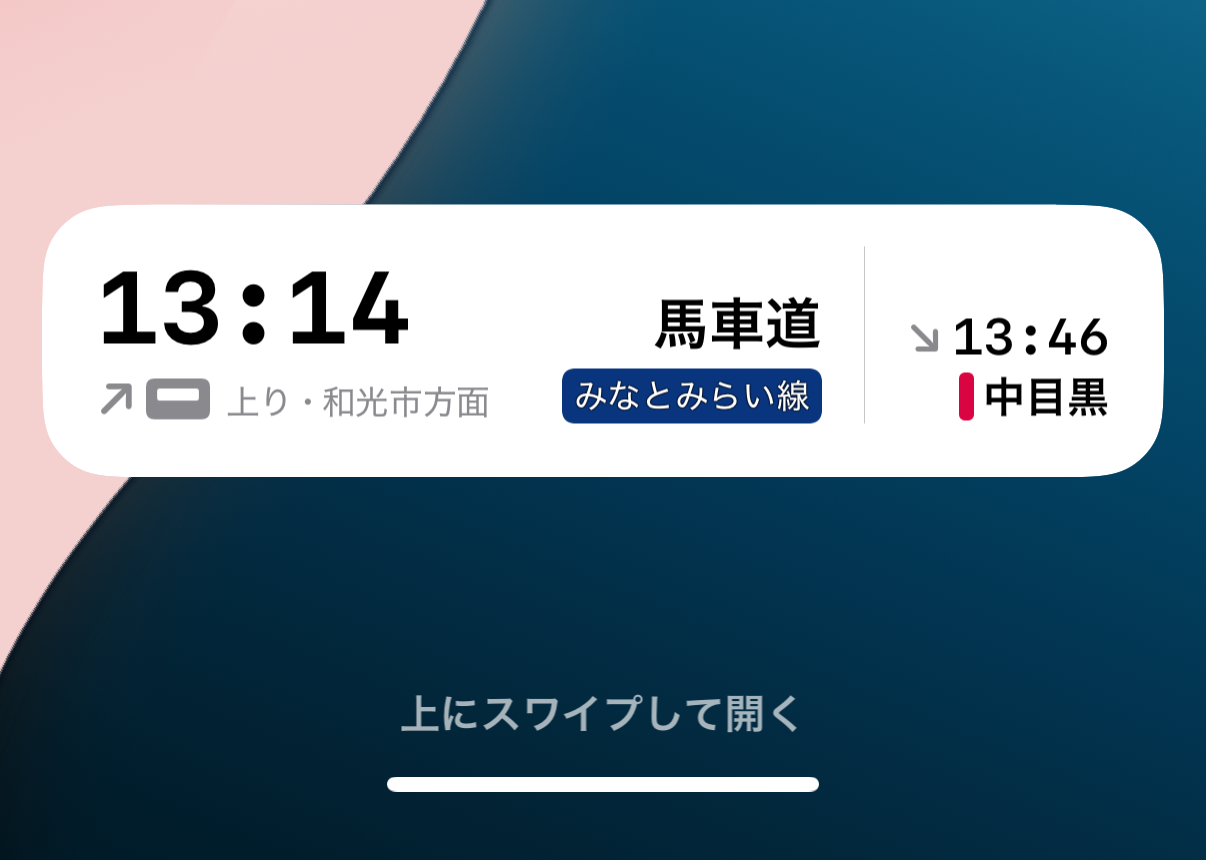
After you’ve created a route, the pertinent details update automatically as a Live Activity in the Dynamic Island and on the lock screen.
The use cases for DIY routing
You may be wondering, “if I already know how to get to my destination without the aid of an algorithmic route service, why would I go through the trouble of creating one myself each time I take a trip?”
Sure, I sometimes use the station timetable widgets I’ve set up to optimize leaving the house to catch the next train.
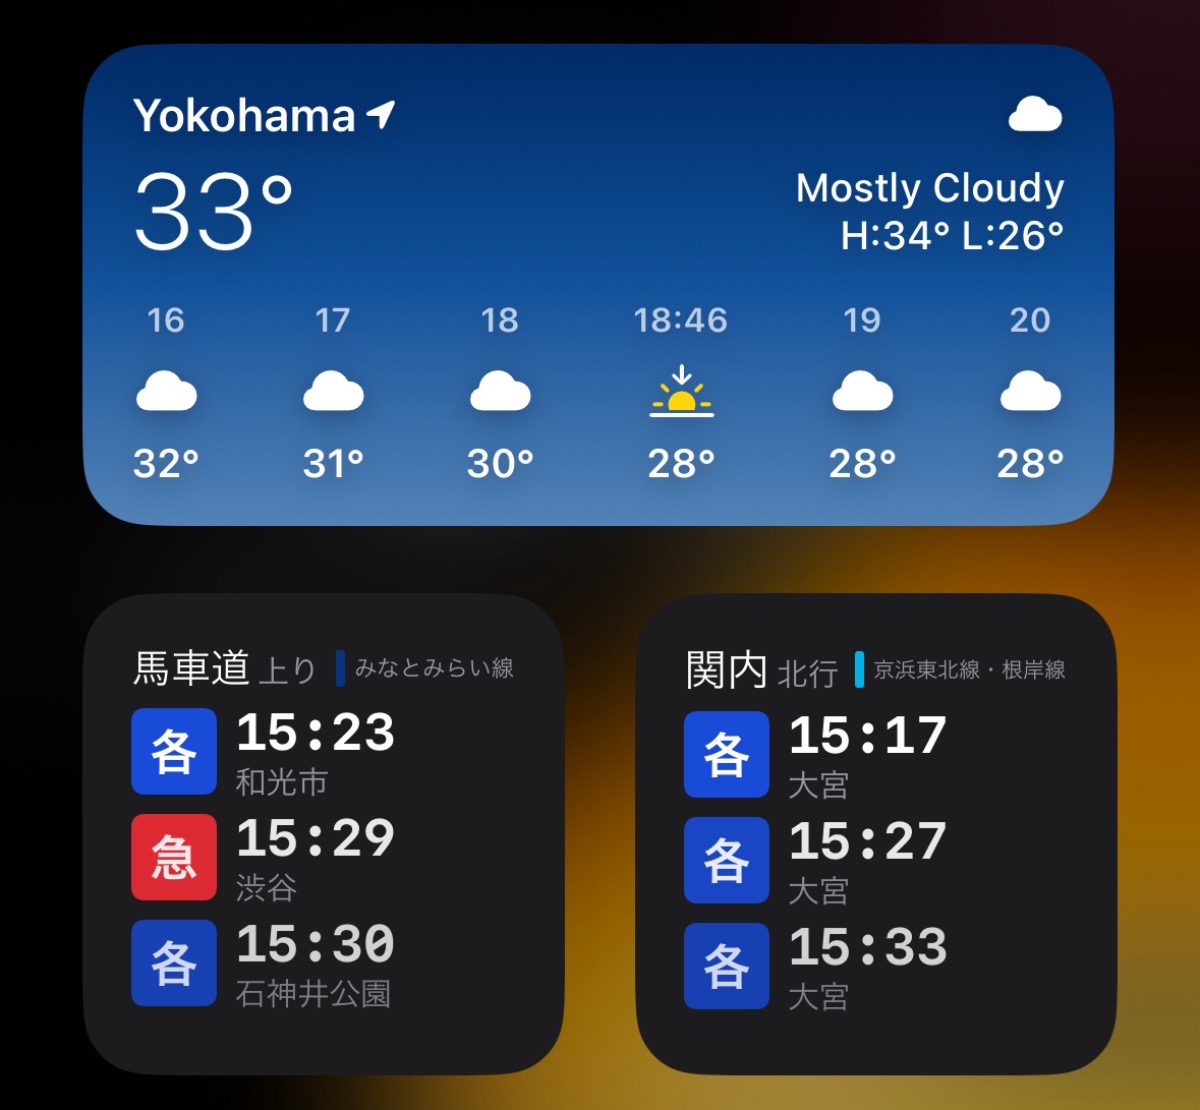
But other times I plan ahead maybe an hour or two to ensure I catch the (fastest) limited express train while also getting to my destination in time. I do this quickly by setting up the first departure of a DIY route, and the departure time immediately appears in my dynamic island so I can keep an eye on it.

Sometimes I’ll set up the full route, but other times I’ll only set the initial departure and set up the rest of the DIY route while I’m waiting on the platform or even when I’m already on the train. No need to do it all at once.
If you’ve got a whole DIY route set up, you get the following benefits:
- Remember when to leave your current location to catch the train you want.
- Remember which train to board when you get to the departure station.
- Remember when to get off at the transfer station.
- Remember which train to board at the transfer station.
- Remember when to get off at your arrival station.
All while browsing other apps or while your iPhone is locked.
Use case: flexibility in departure
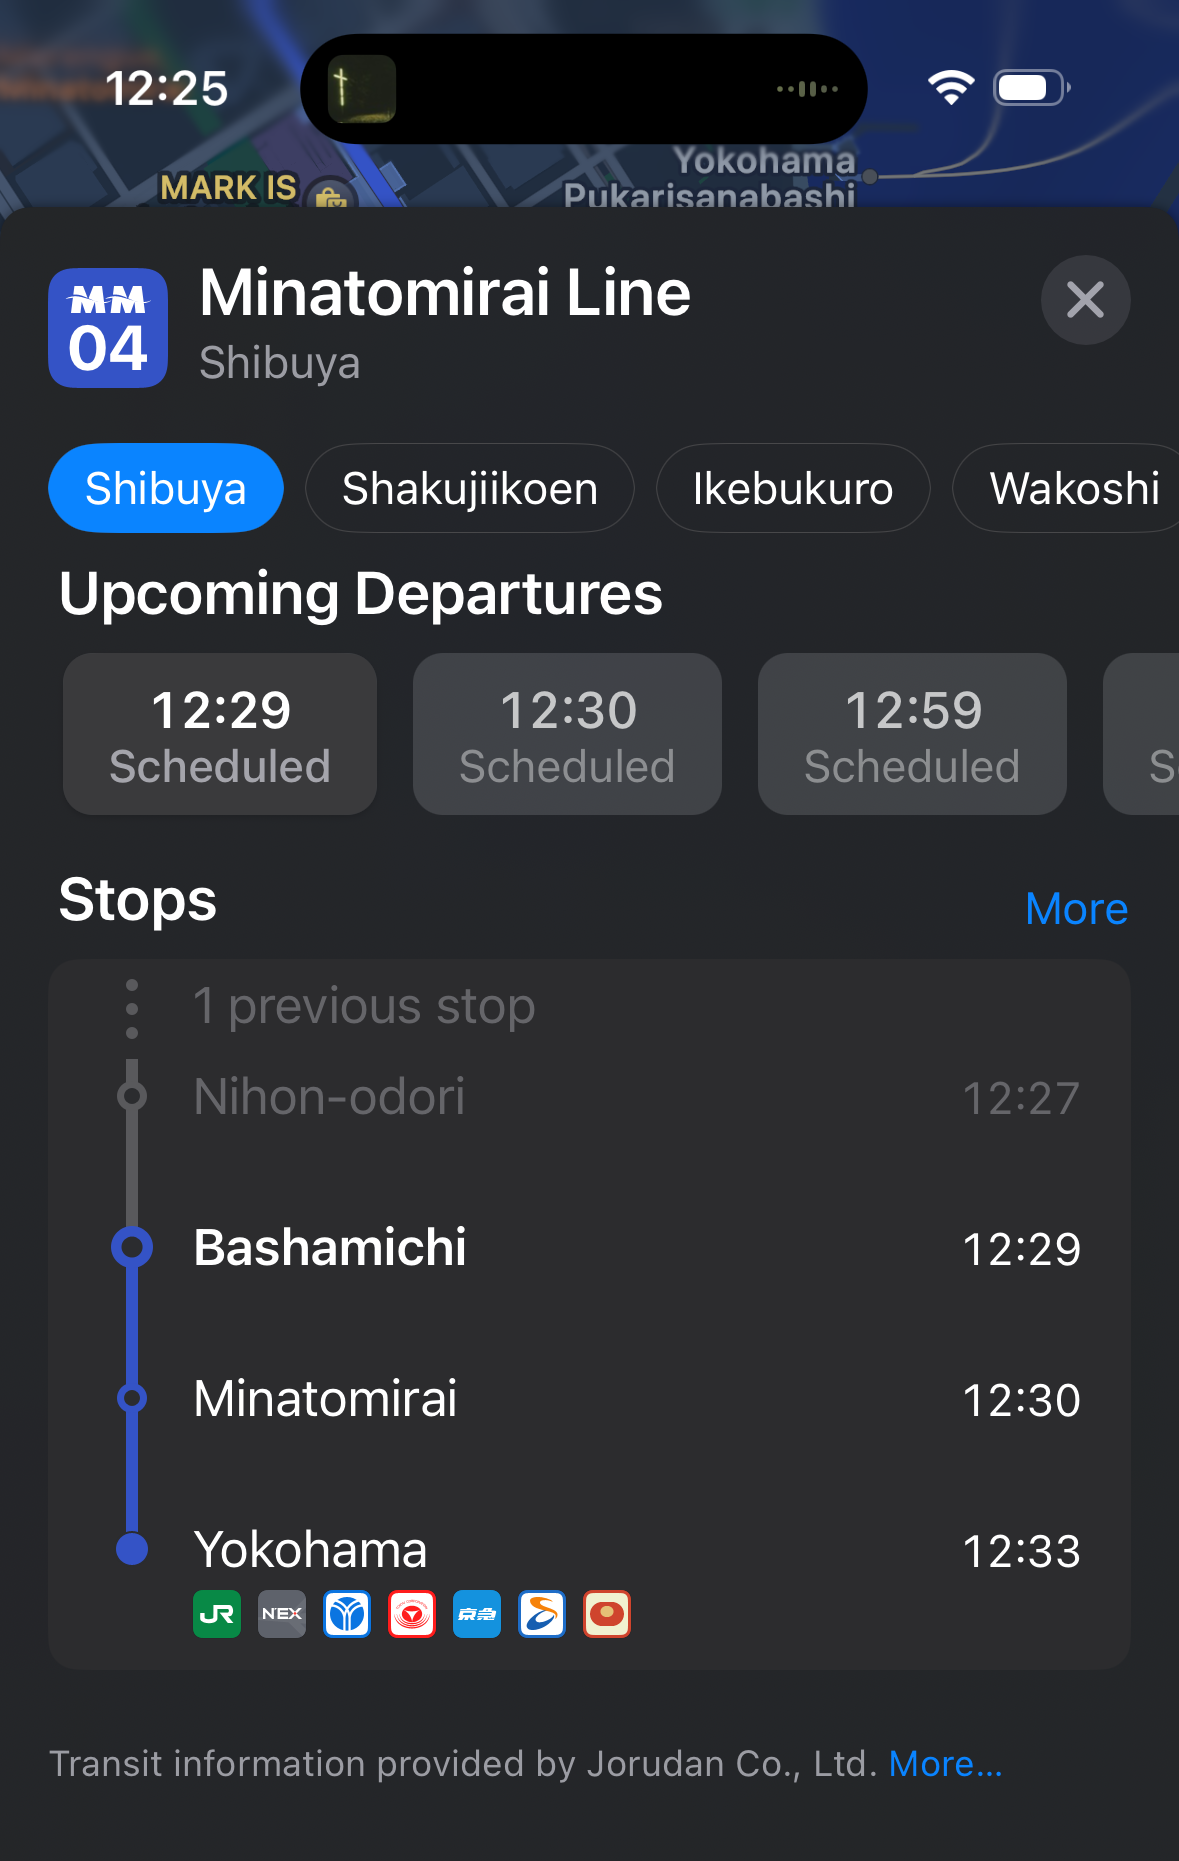
When I’m picking my departure time in Eki Bright, I’m immediately presented with the full list, including train type (e.g. local, express). It’s quick and easy to understand at a glance what my options are. The interface has only a slight bias for “leaving now” departures, showing the next 6 departures on the station detail screen and the next ~11 departures on the station timetable screen. It’s not much more difficult to plan an hour or two ahead.
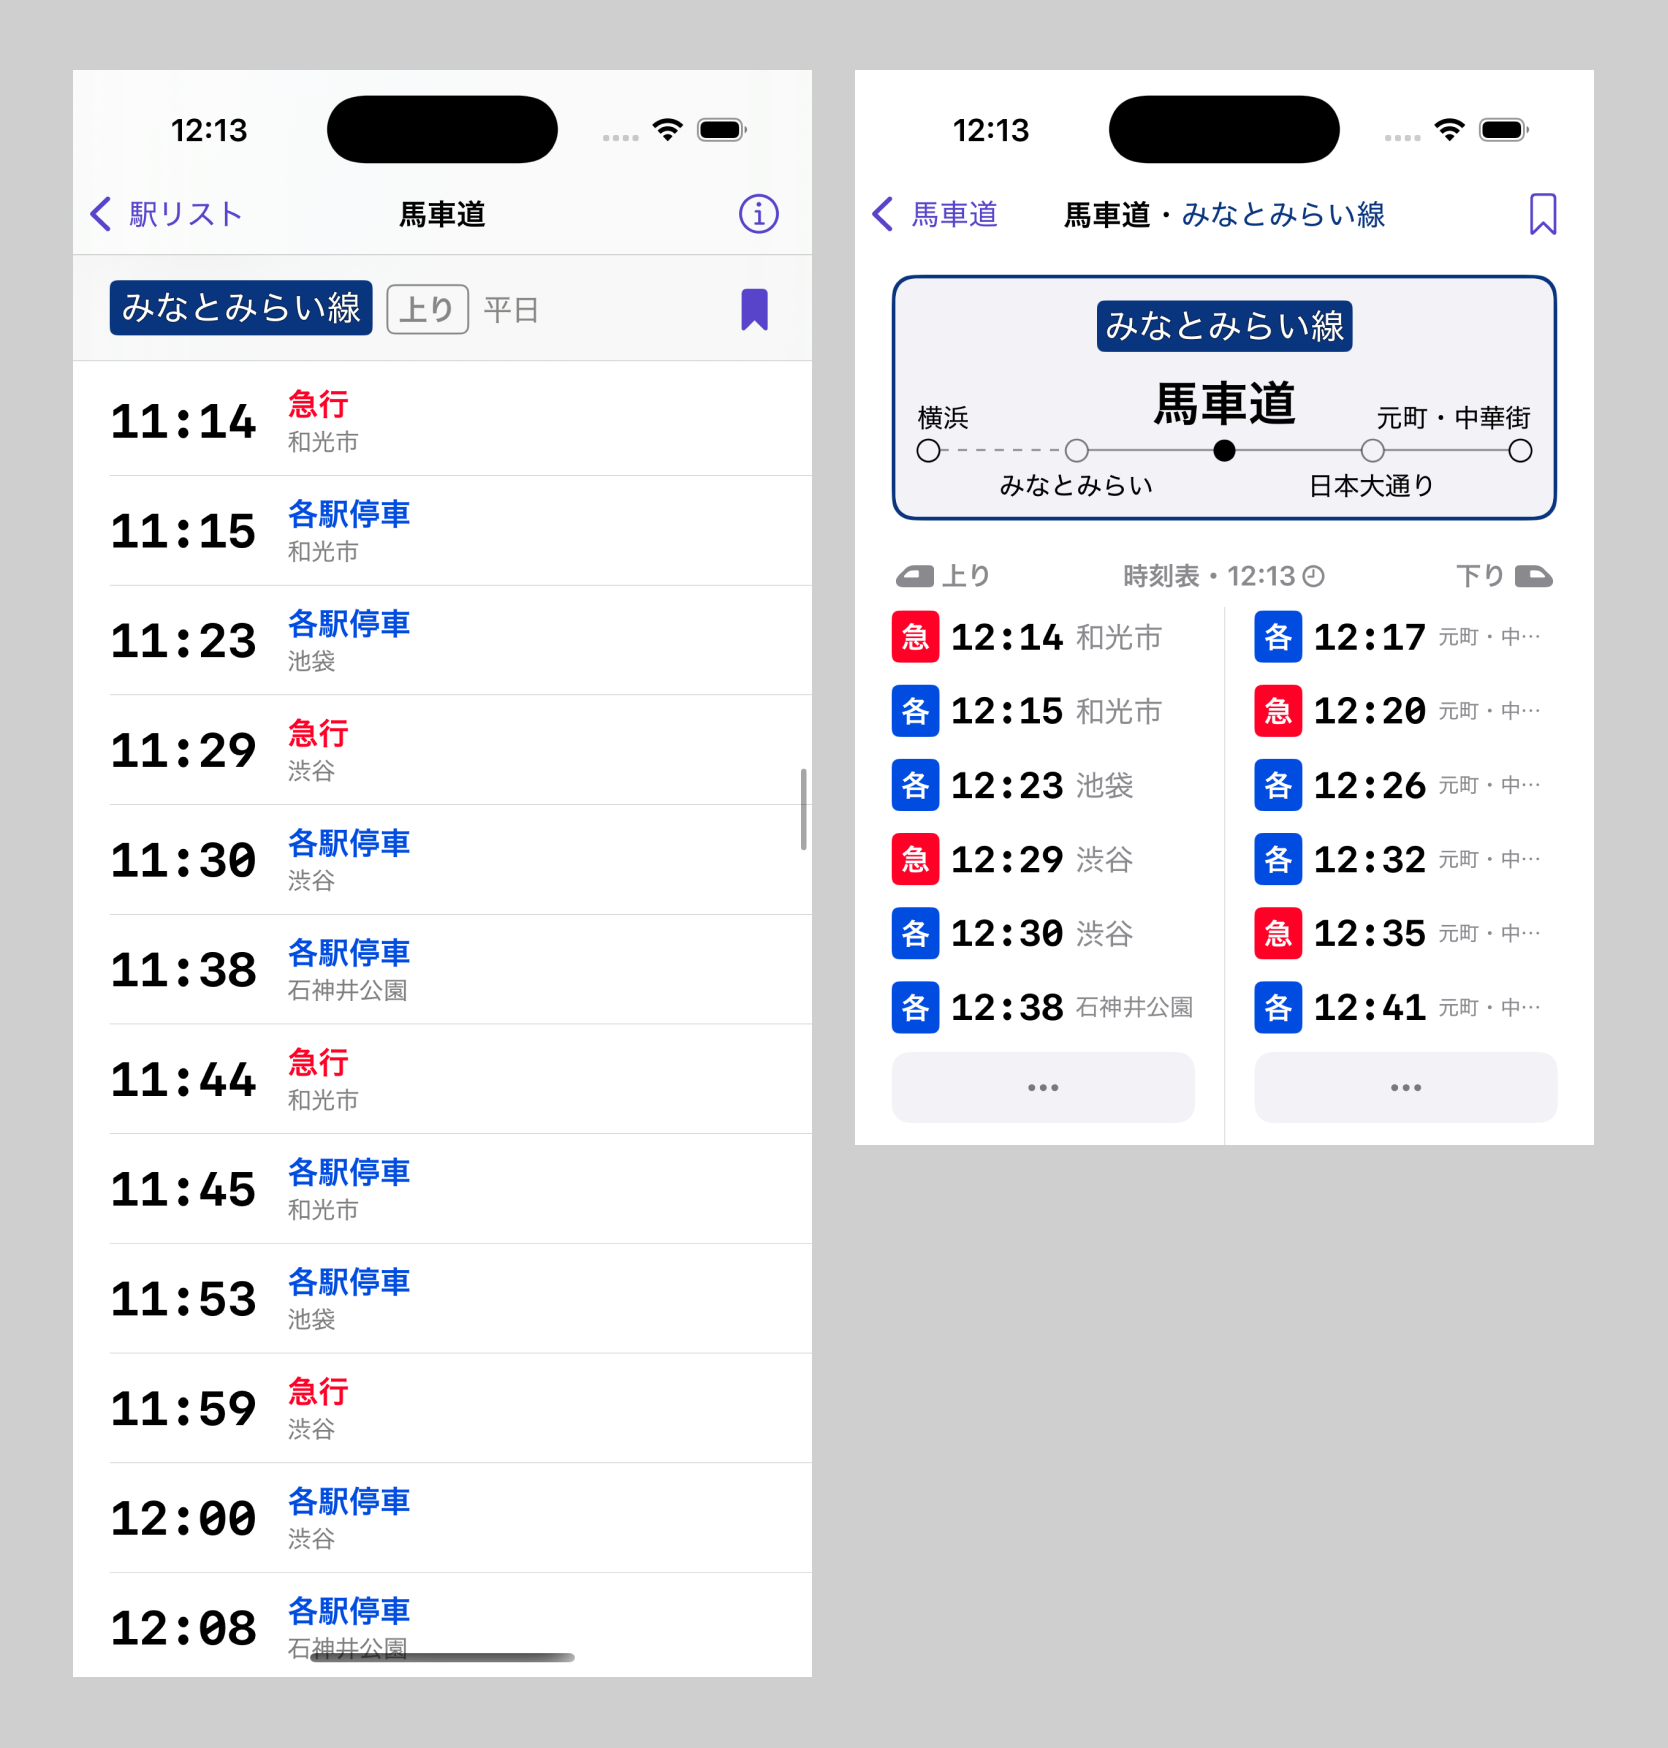
Similarly, once you’ve added a departure to a DIY route, you can see and select 2 departures before and after the active departure. This lets you quickly recover if you miss your train or decide to leave a little early.
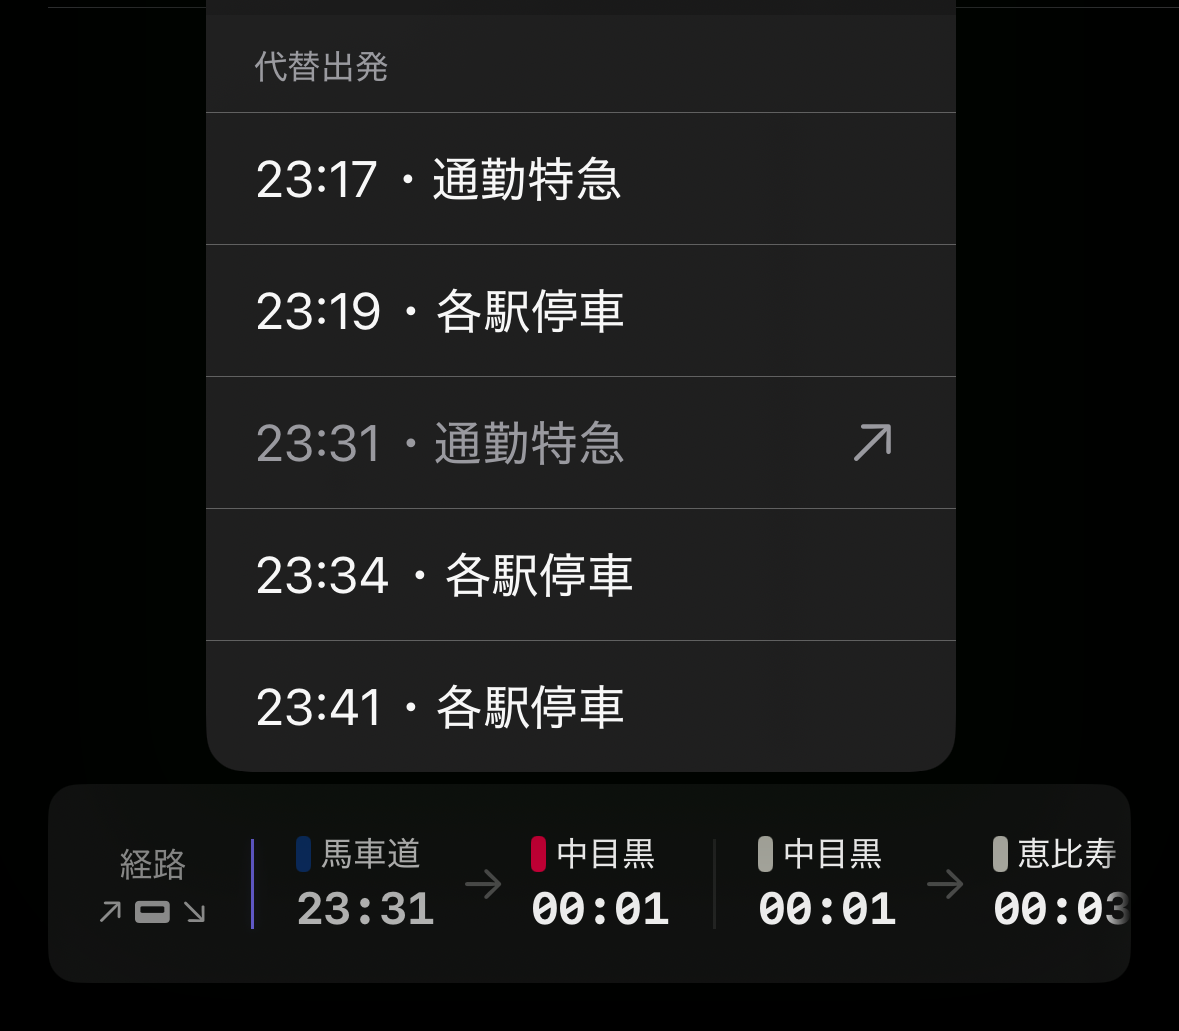
In contrast, other routing apps are purely optimized for “leaving now” departures, and are forced to use a variant of the time picker control in a modal view if you’re leaving even a little later.
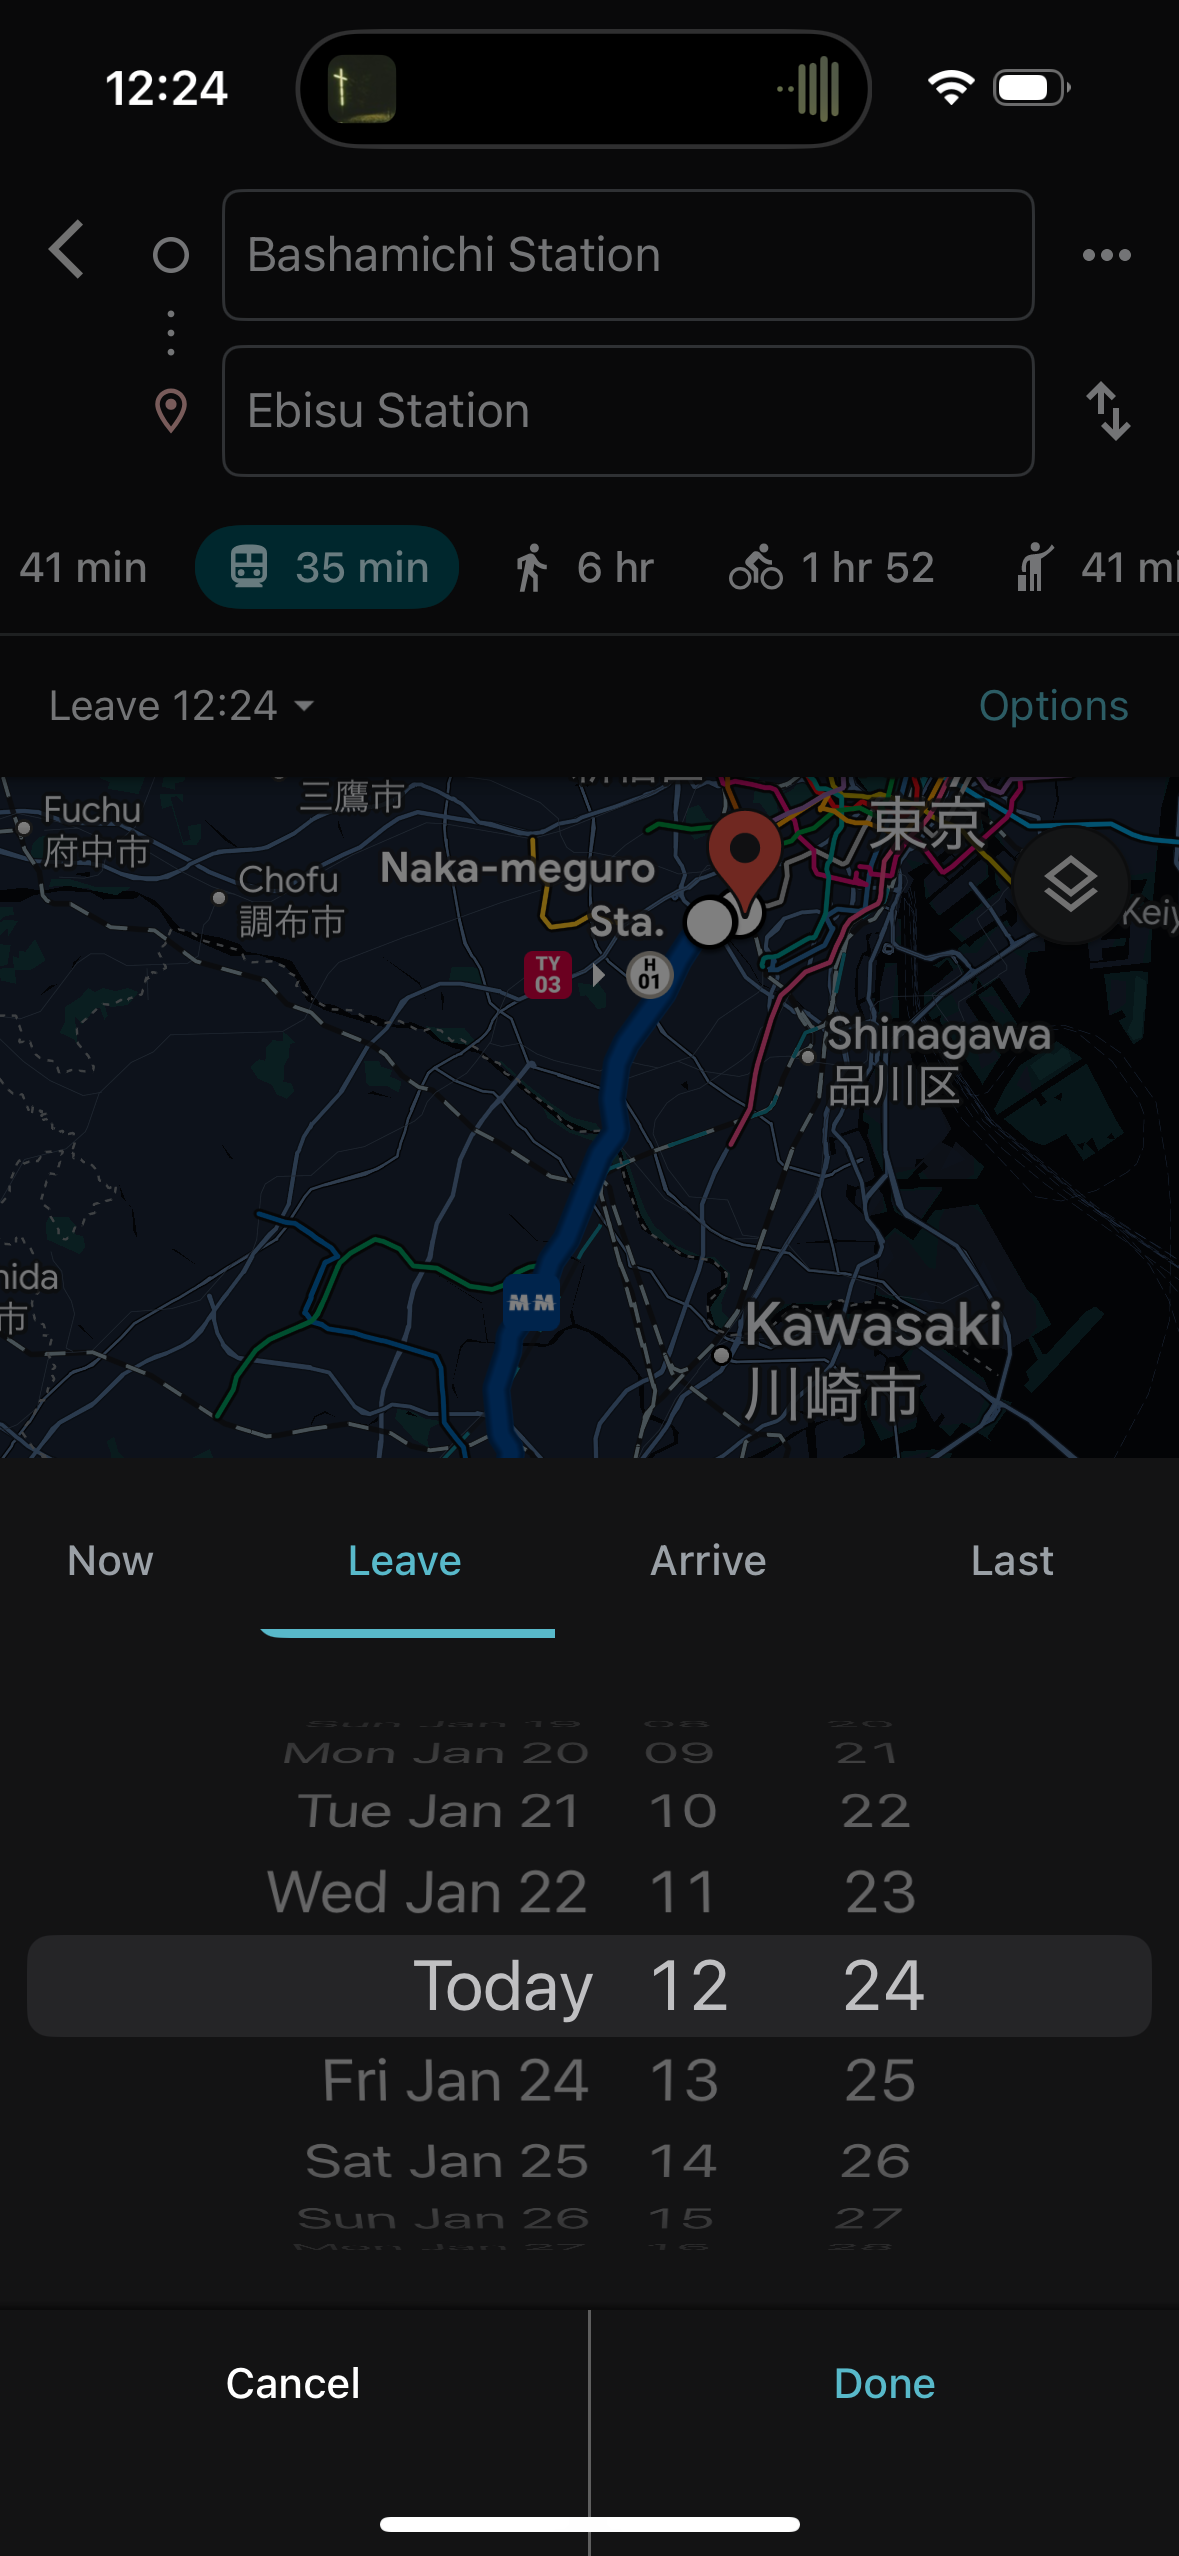
Other routing apps also have various interfaces for re-routing to the next or previous train. But I’ve found each implementation to be lacking, either in update speed or UI clarity, mostly because the interfaces need to assist users who aren’t familiar with the route.
Use case: no false sense of accuracy in walking transfer times
Full-featured routing apps default to choosing the start location of your route via GPS and then calculating the train portion of the route based on the best estimate walk time to the departure station. I think this method works fine for general users.
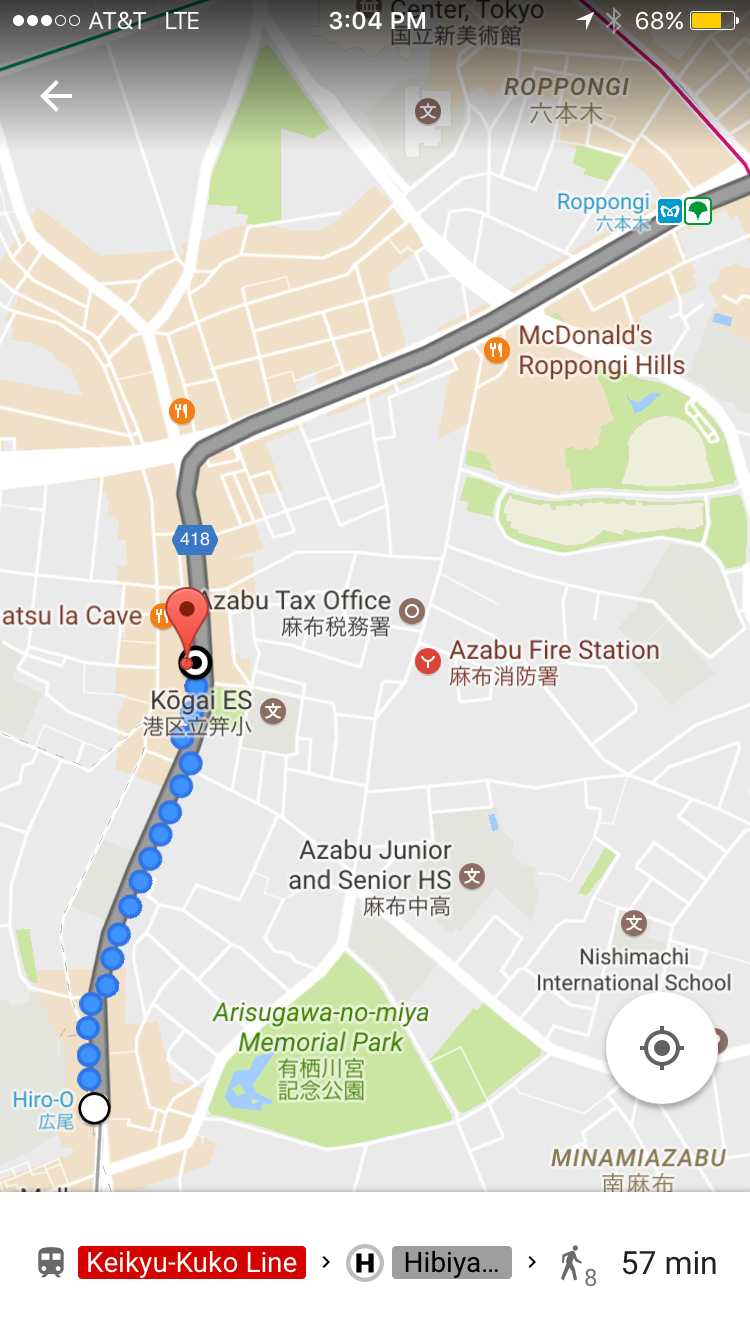
However, as a power-user, I’ve found these estimates to be inaccurate to the point where they’re disruptive to my route planning.
First, GPS accuracy is often quite spotty in many parts of street-level Tokyo, and even worse if you’re in one of the many underground spaces.
The app must also make a tradeoff between waiting for the GPS signal to stabilize and providing a route. Waiting longer may return a more accurate GPS location, but may cause the user to become impatient, or even miss a train in rare cases.
Since the walking shares the street with cars and buses, due to traffic light timings walking time estimates will always need to build in some margin of error.
And finally, full-featured routing apps have no setting for “I’m a slow walker” or “I can run if it means I catch the express train and therefore a ~15 minute earlier arrival time”. This means they sometimes won’t show you a route you could easily make unless you set the departure time back a minute or two.
It’s frustrating to try to work around these apps when they’re being “smart”. I need to enter my departure coordinates exactly by typing or fiddling with the map view. Or I need to open up the departure time picker and guess and check spinning the dials enough to trigger a more ideal set of route results.
Many times, I’ve been on the station platform trying to quickly double check the info for a soon-to-depart train, but Google Maps will not show me that train because it thinks I need to walk 5 minutes to the train station due to the GPS accuracy.
Norikae Annai assumes you’re already at the departure station and provides no walk guidance or departure time adjustment. This default configuration is fine for when you’re already at the station, but slow if you want to account for a couple minute walk.
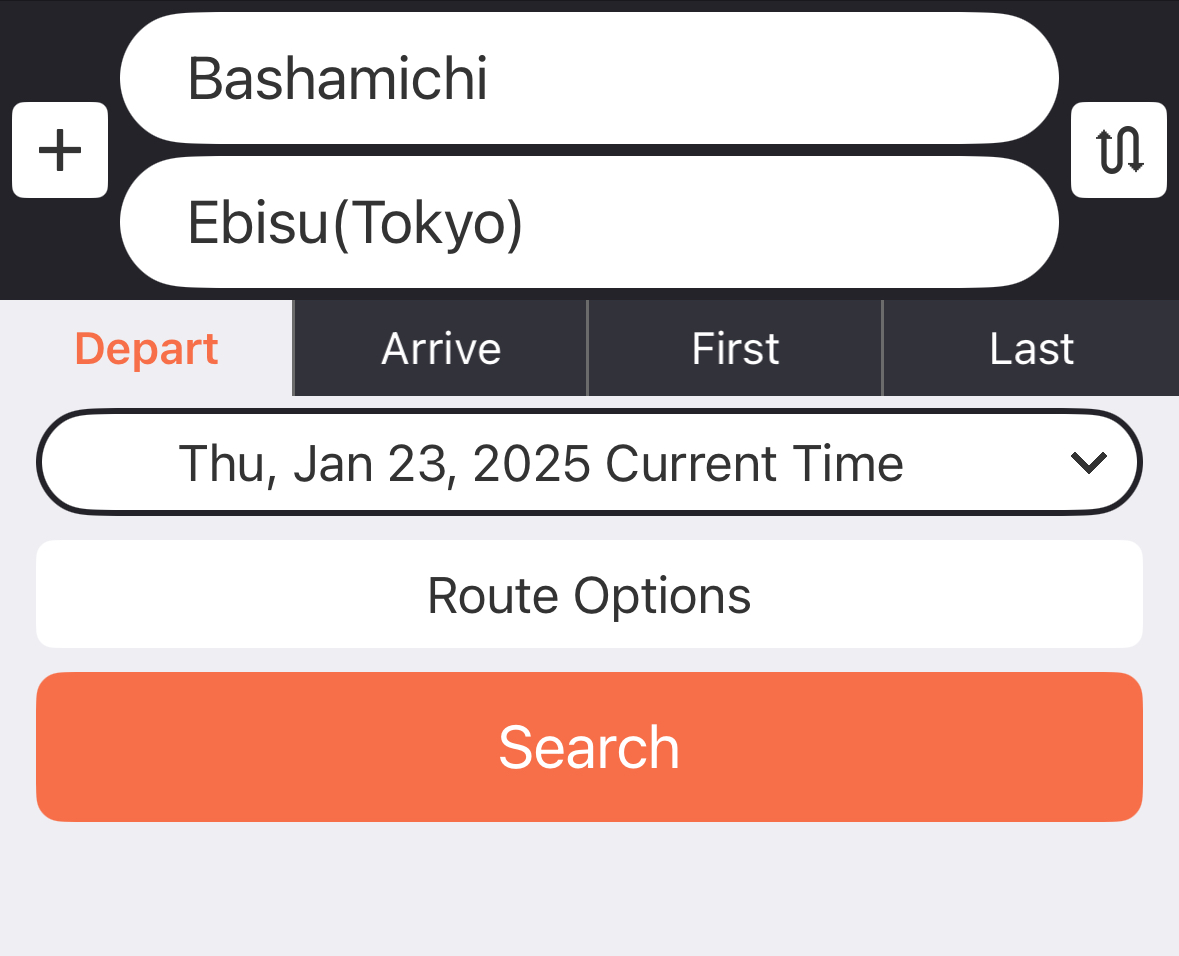
You either need to use the departure time picker modal or tap through to other departures (if you can find those buttons between the ads).
Use case: optimizing transfer times
Estimating transfer times between segments is a variant of the above problem of estimating walking times to the departure station.
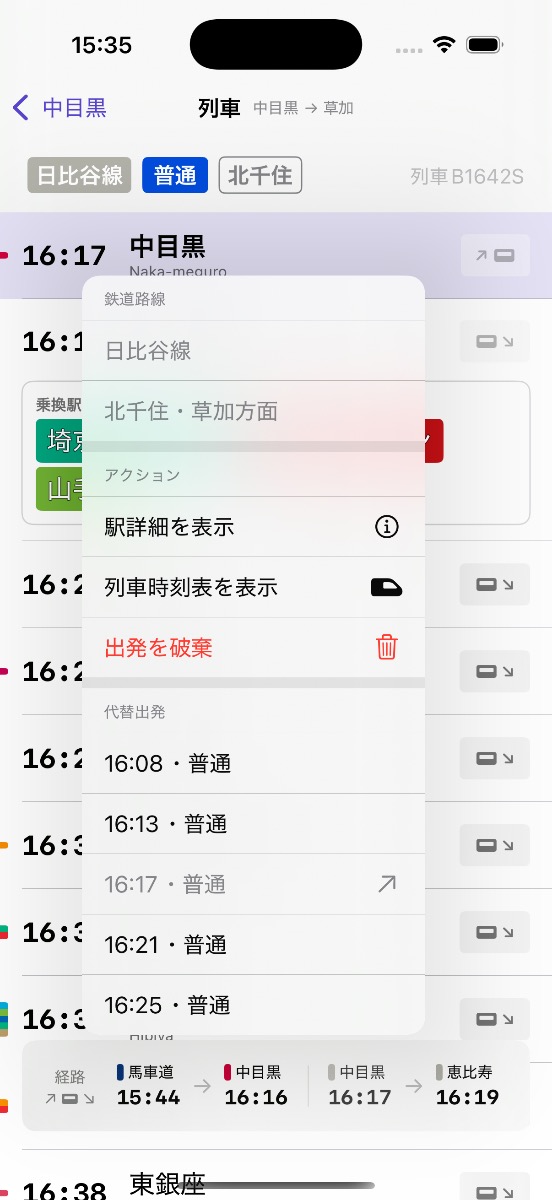
In Eki Bright, this problem is handled the same way as above. The app does not try to make any smart estimates it can’t guarantee, but instead gives you tools and surfaces relevant information to optimize transfers on your own.
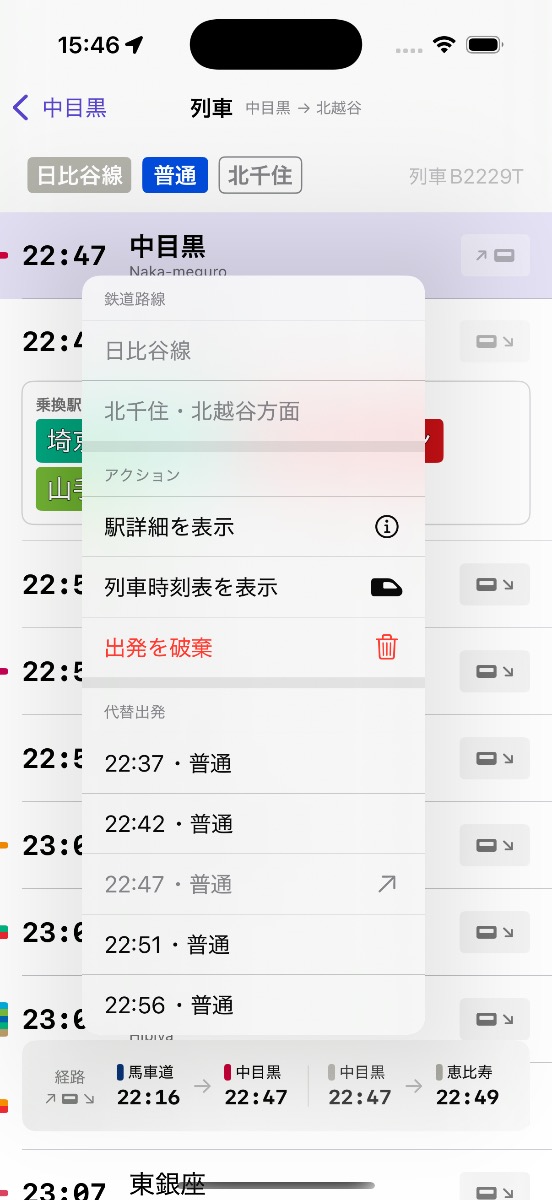
If I know my route and transfer pretty well, I can estimate my absolute fastest time walking from platform to platform. From there, I can quickly see the next couple departure options and easily decide whether I can rush to make the next transfer or whether I can take my time (perhaps stopping for a drink, or snack, or to use the restroom).
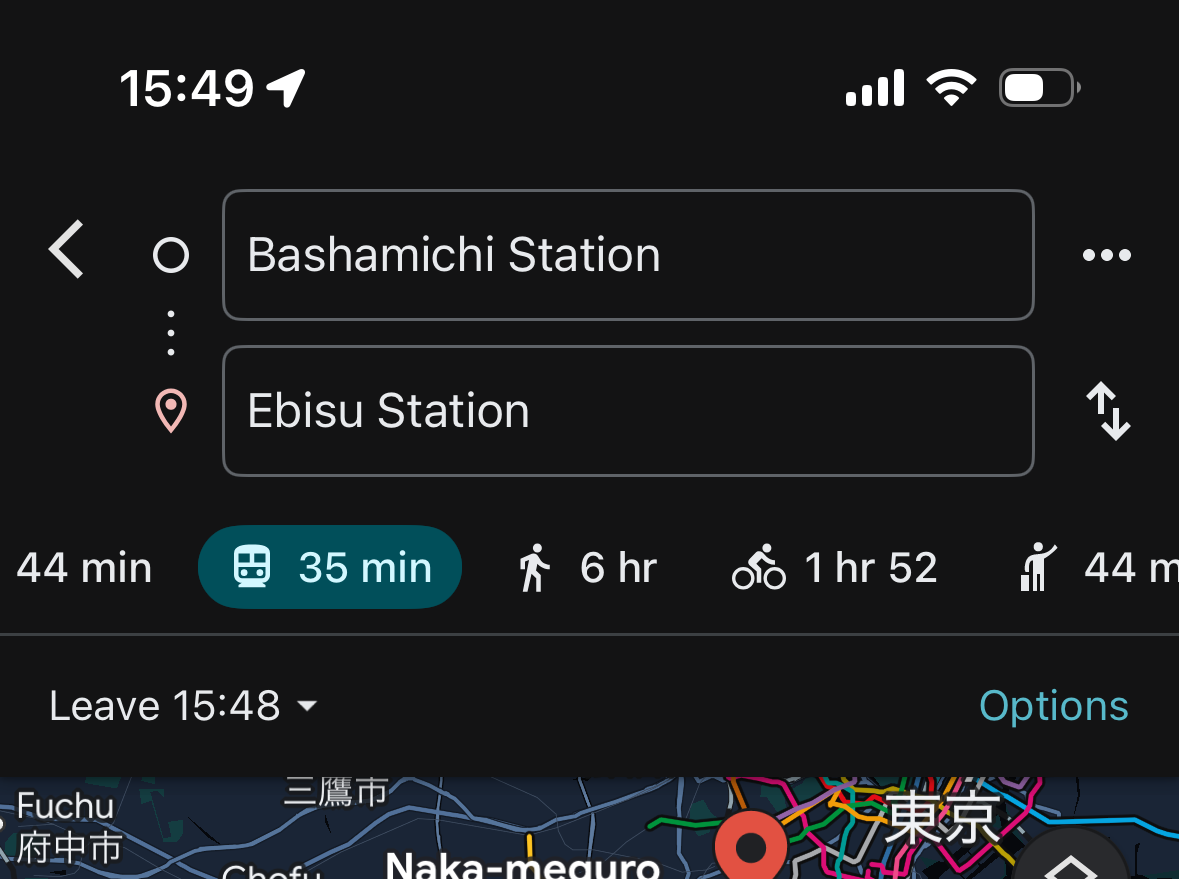
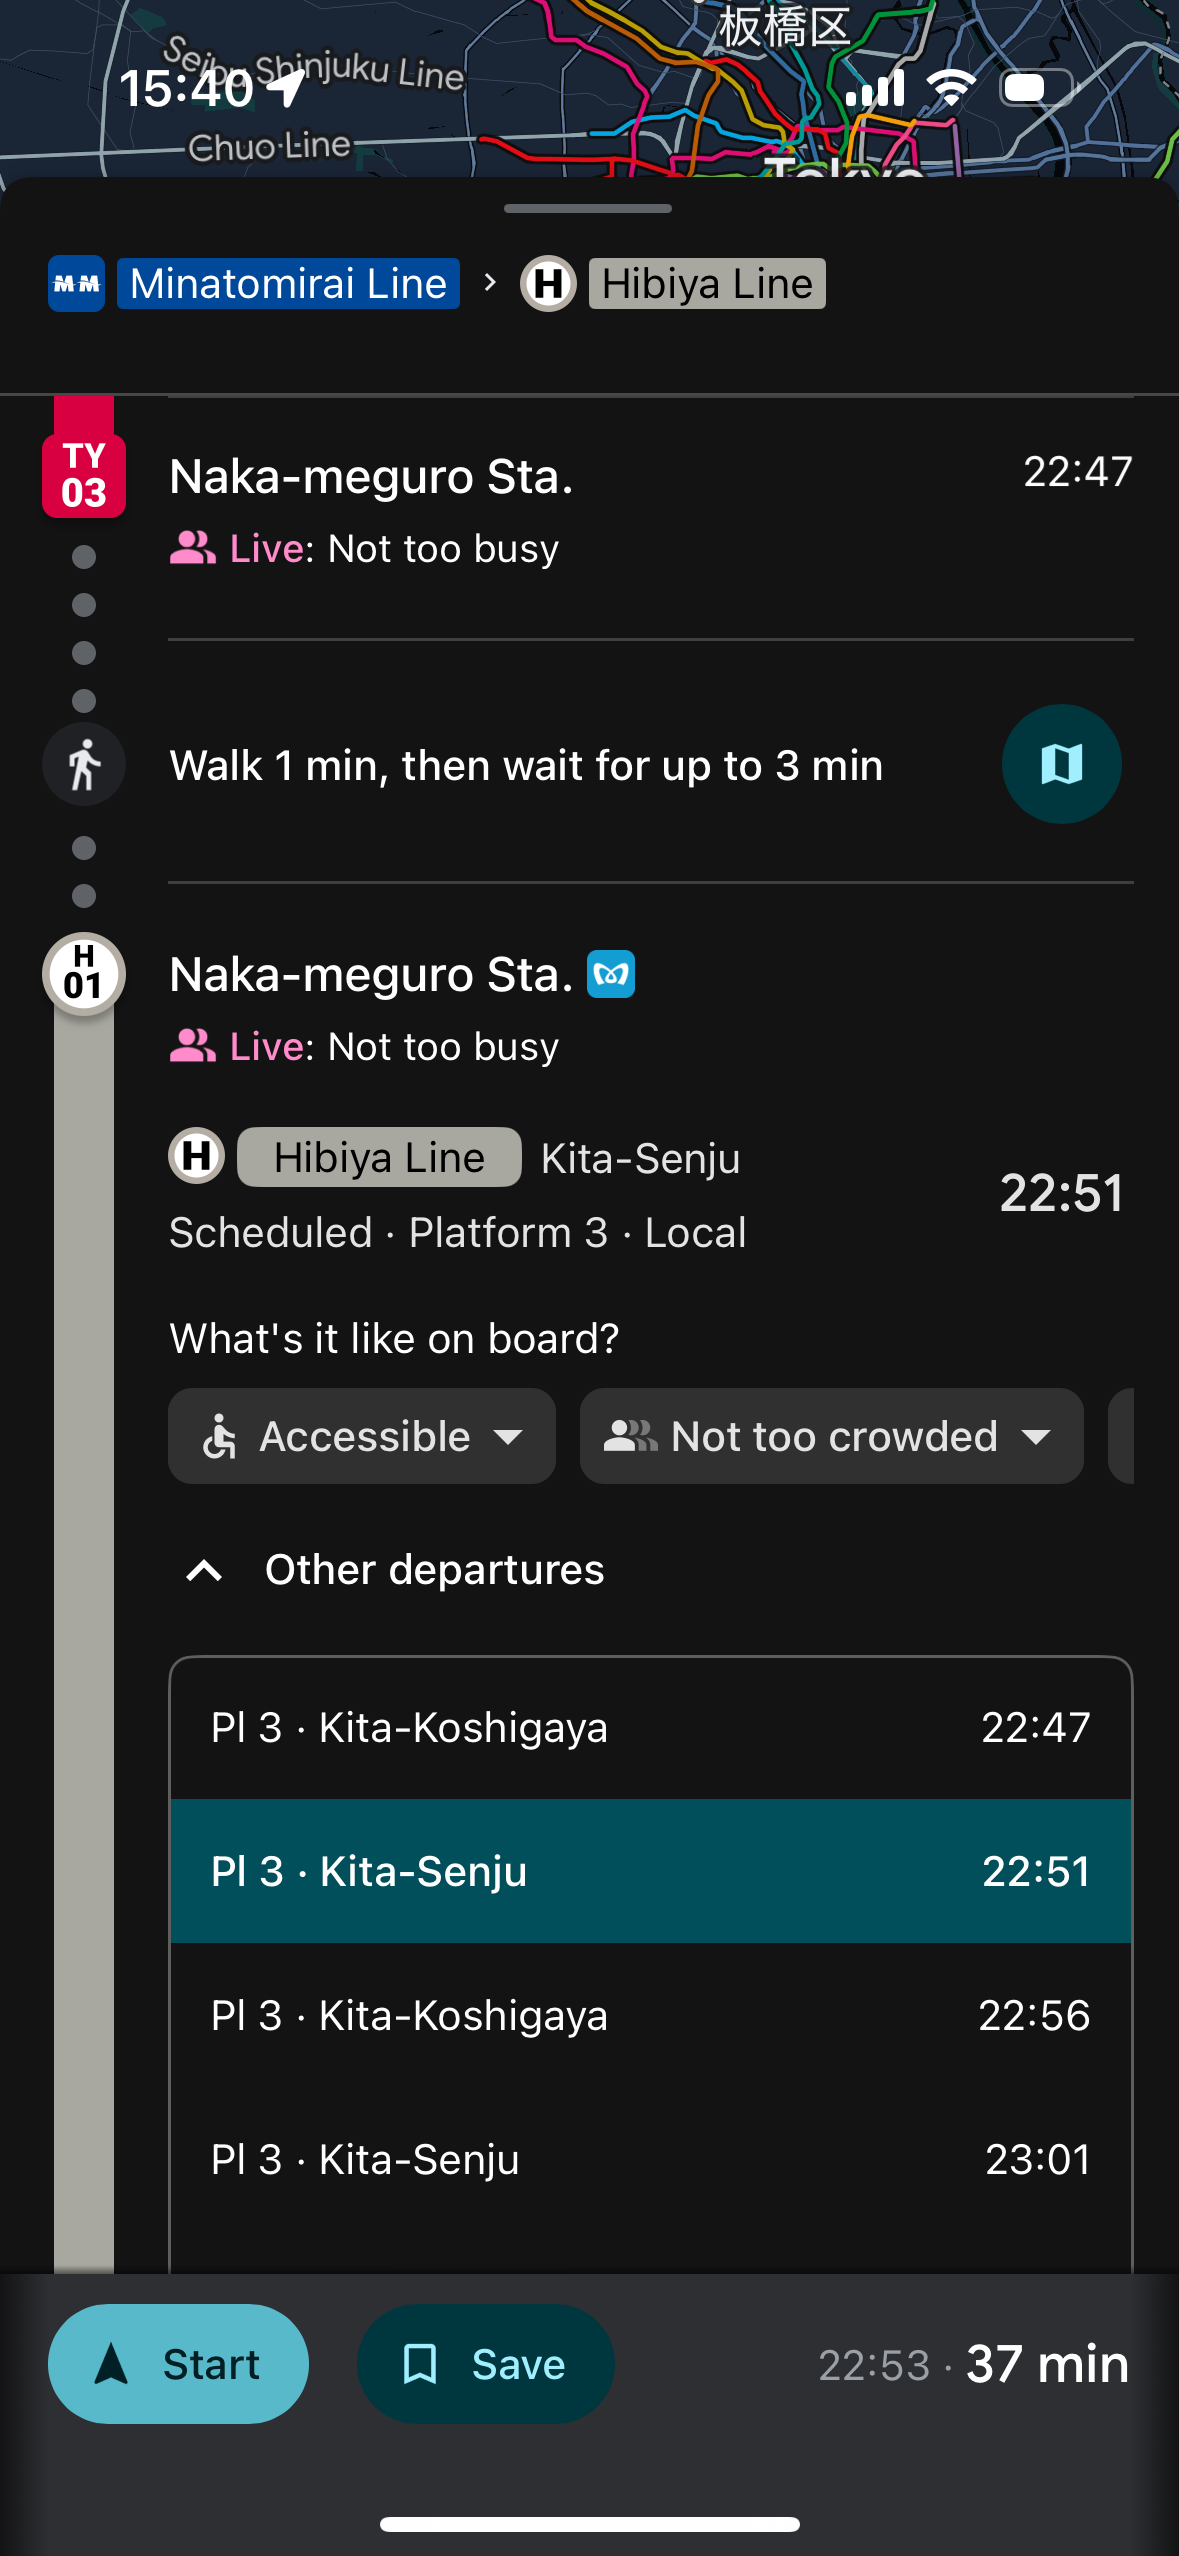
Google Maps has a reasonably good interface for checking other transfer time options. But as far as selecting a default option, it seems to be using its walking distance algorithm even within stations. For this example Nakameguro transfer, it seems to think the transfer will take a 1 minute walk, even though these two trains actually stop on adjacent sides of the same platform and usually wait for one another.
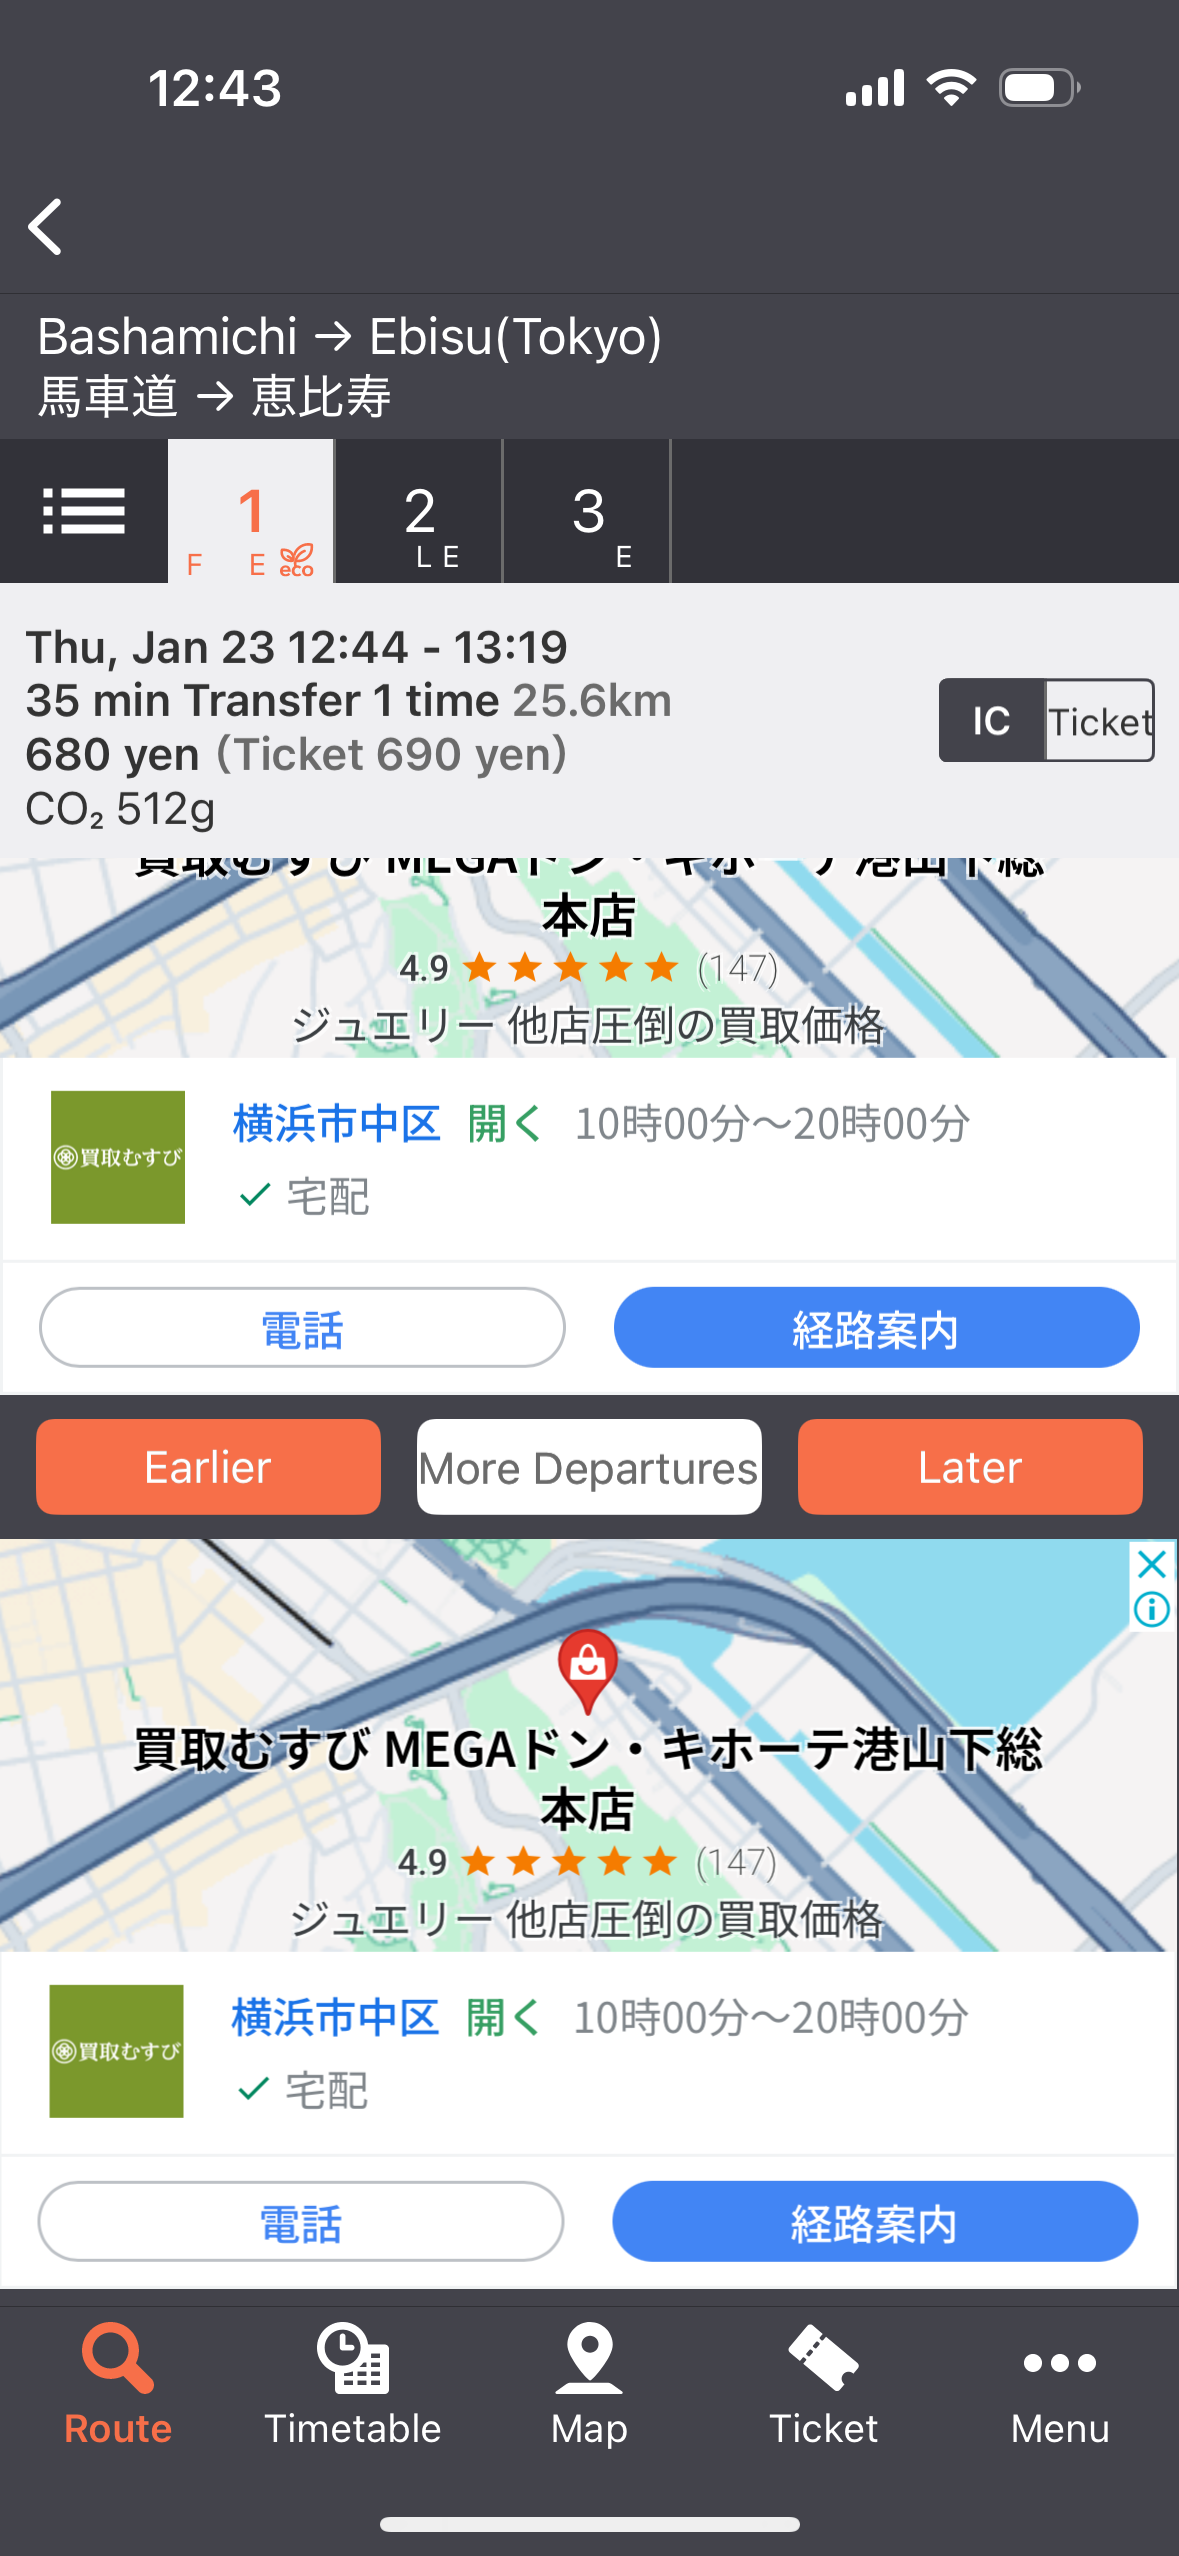
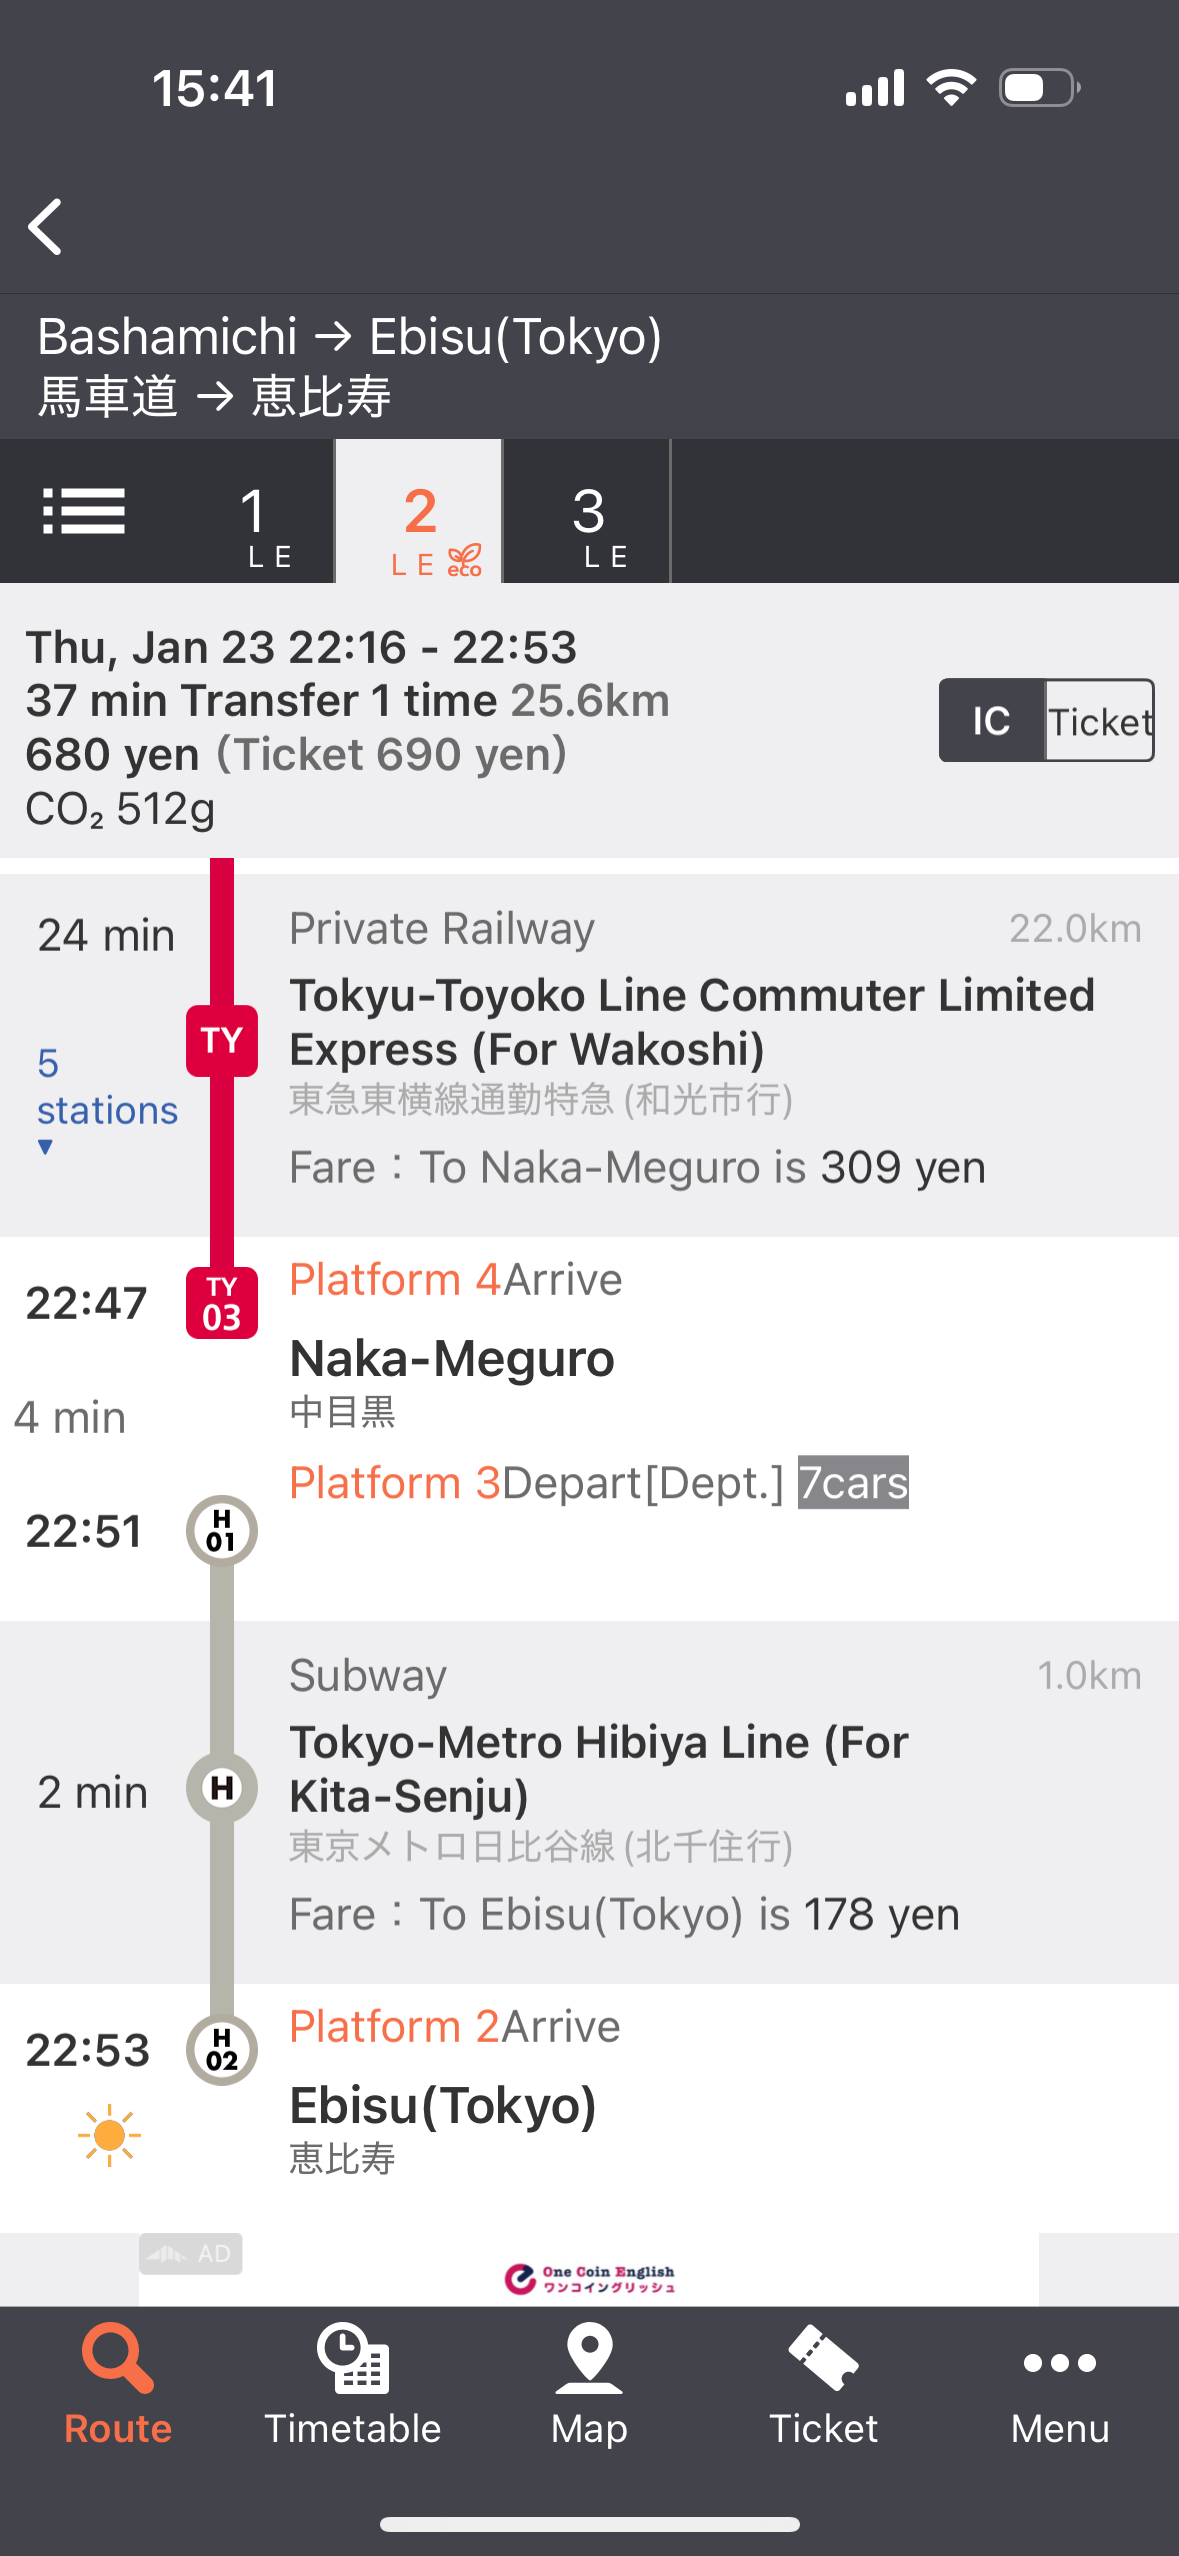
Noriakae Annai doesn’t even have an option for choosing an alternate transfer. It’s not clear to me how the app chooses possible transfer times by default. But in the below example, I can see in Eki Bright that if I get off the Toyoko-line train right after it arrives, I have a good chance of making the Hibiya-line transfer departing at the exact same time.
Use case: eliminating distractions like maps
Other routing apps dedicate most of their UI to departure point, arrival point, routing options, maps, and proposed routes.
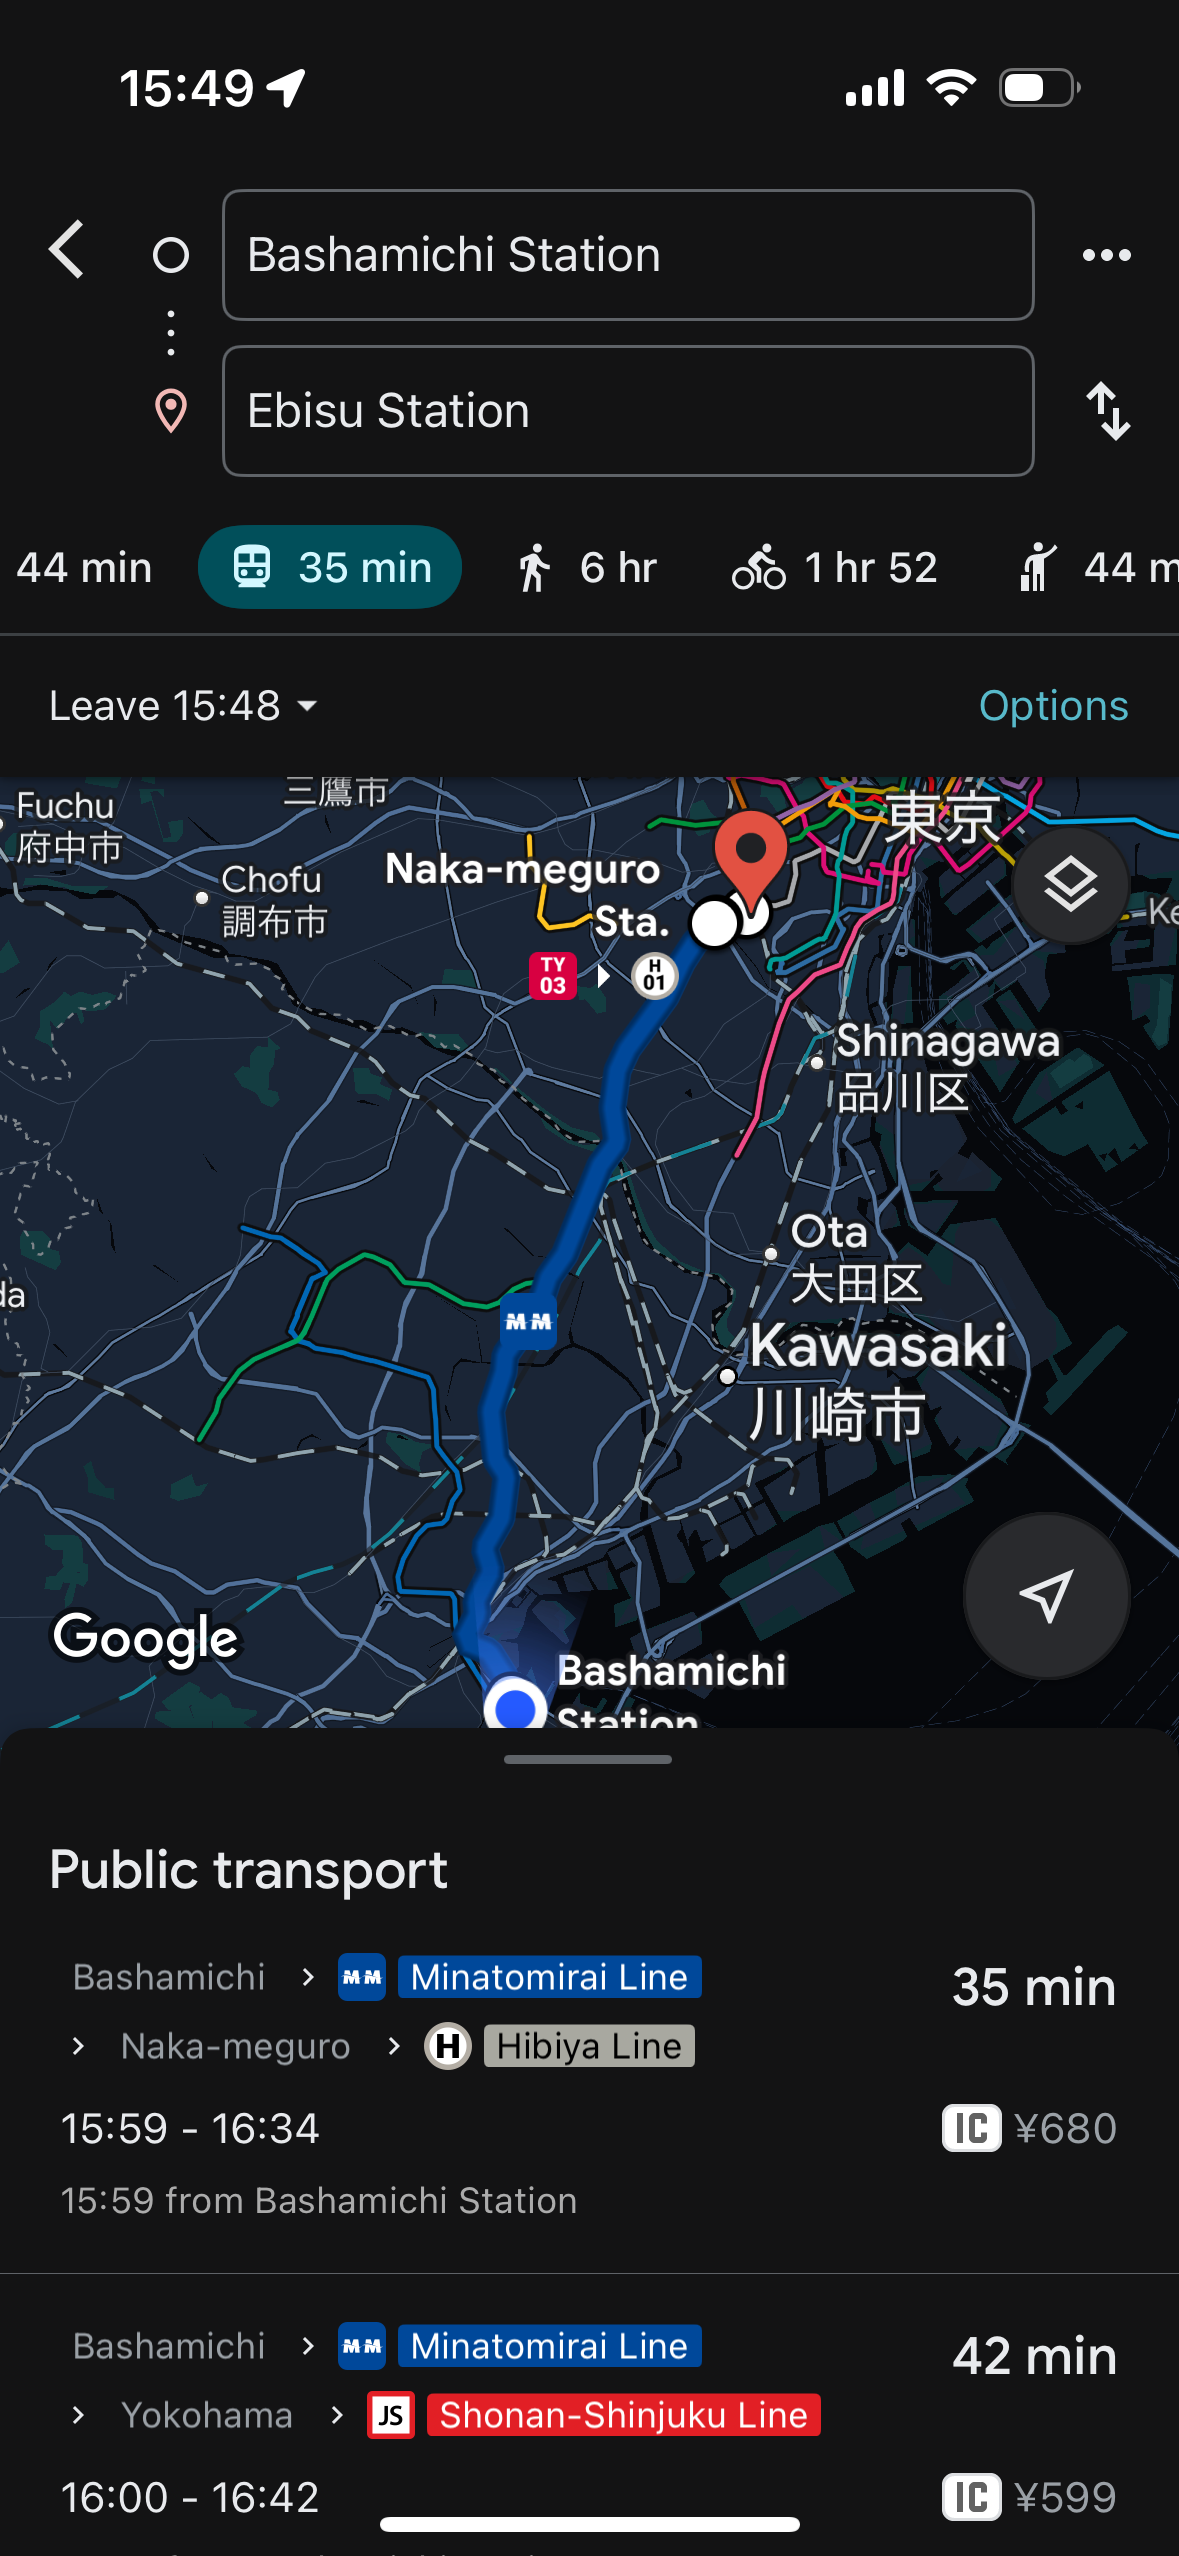
If you already know which proposed route you want to take, but just need to know the departure time, the rest of the UI is just distraction and visual noise.
In contrast, Eki Bright is optimized to get you, a power user, to your first departure time as quickly as possible. Since user preferences and situations are different, I use a layering approach: lock screen widgets, today view widgets, home screen widgets, and bookmarks on the app’s home screen.
Priority for routing is secondary, since it can be ignored completely or set up en route with no consequences.
Eliminating the necessity of choosing a destination is a big win for Eki Bright.
Eliminating the necessity of a map is also a big win. Maps take up a lot of screen real estate.
Other routing apps, even Google Maps, have their own version of timetable-based UI. However, the UI and UX is usually a secondary concern and quite clumsy. They’re not intended to be a full featured replacement for routing, nor do they incorporate progressive disclosure where you can use the departure time as a jumping off point to create a route.
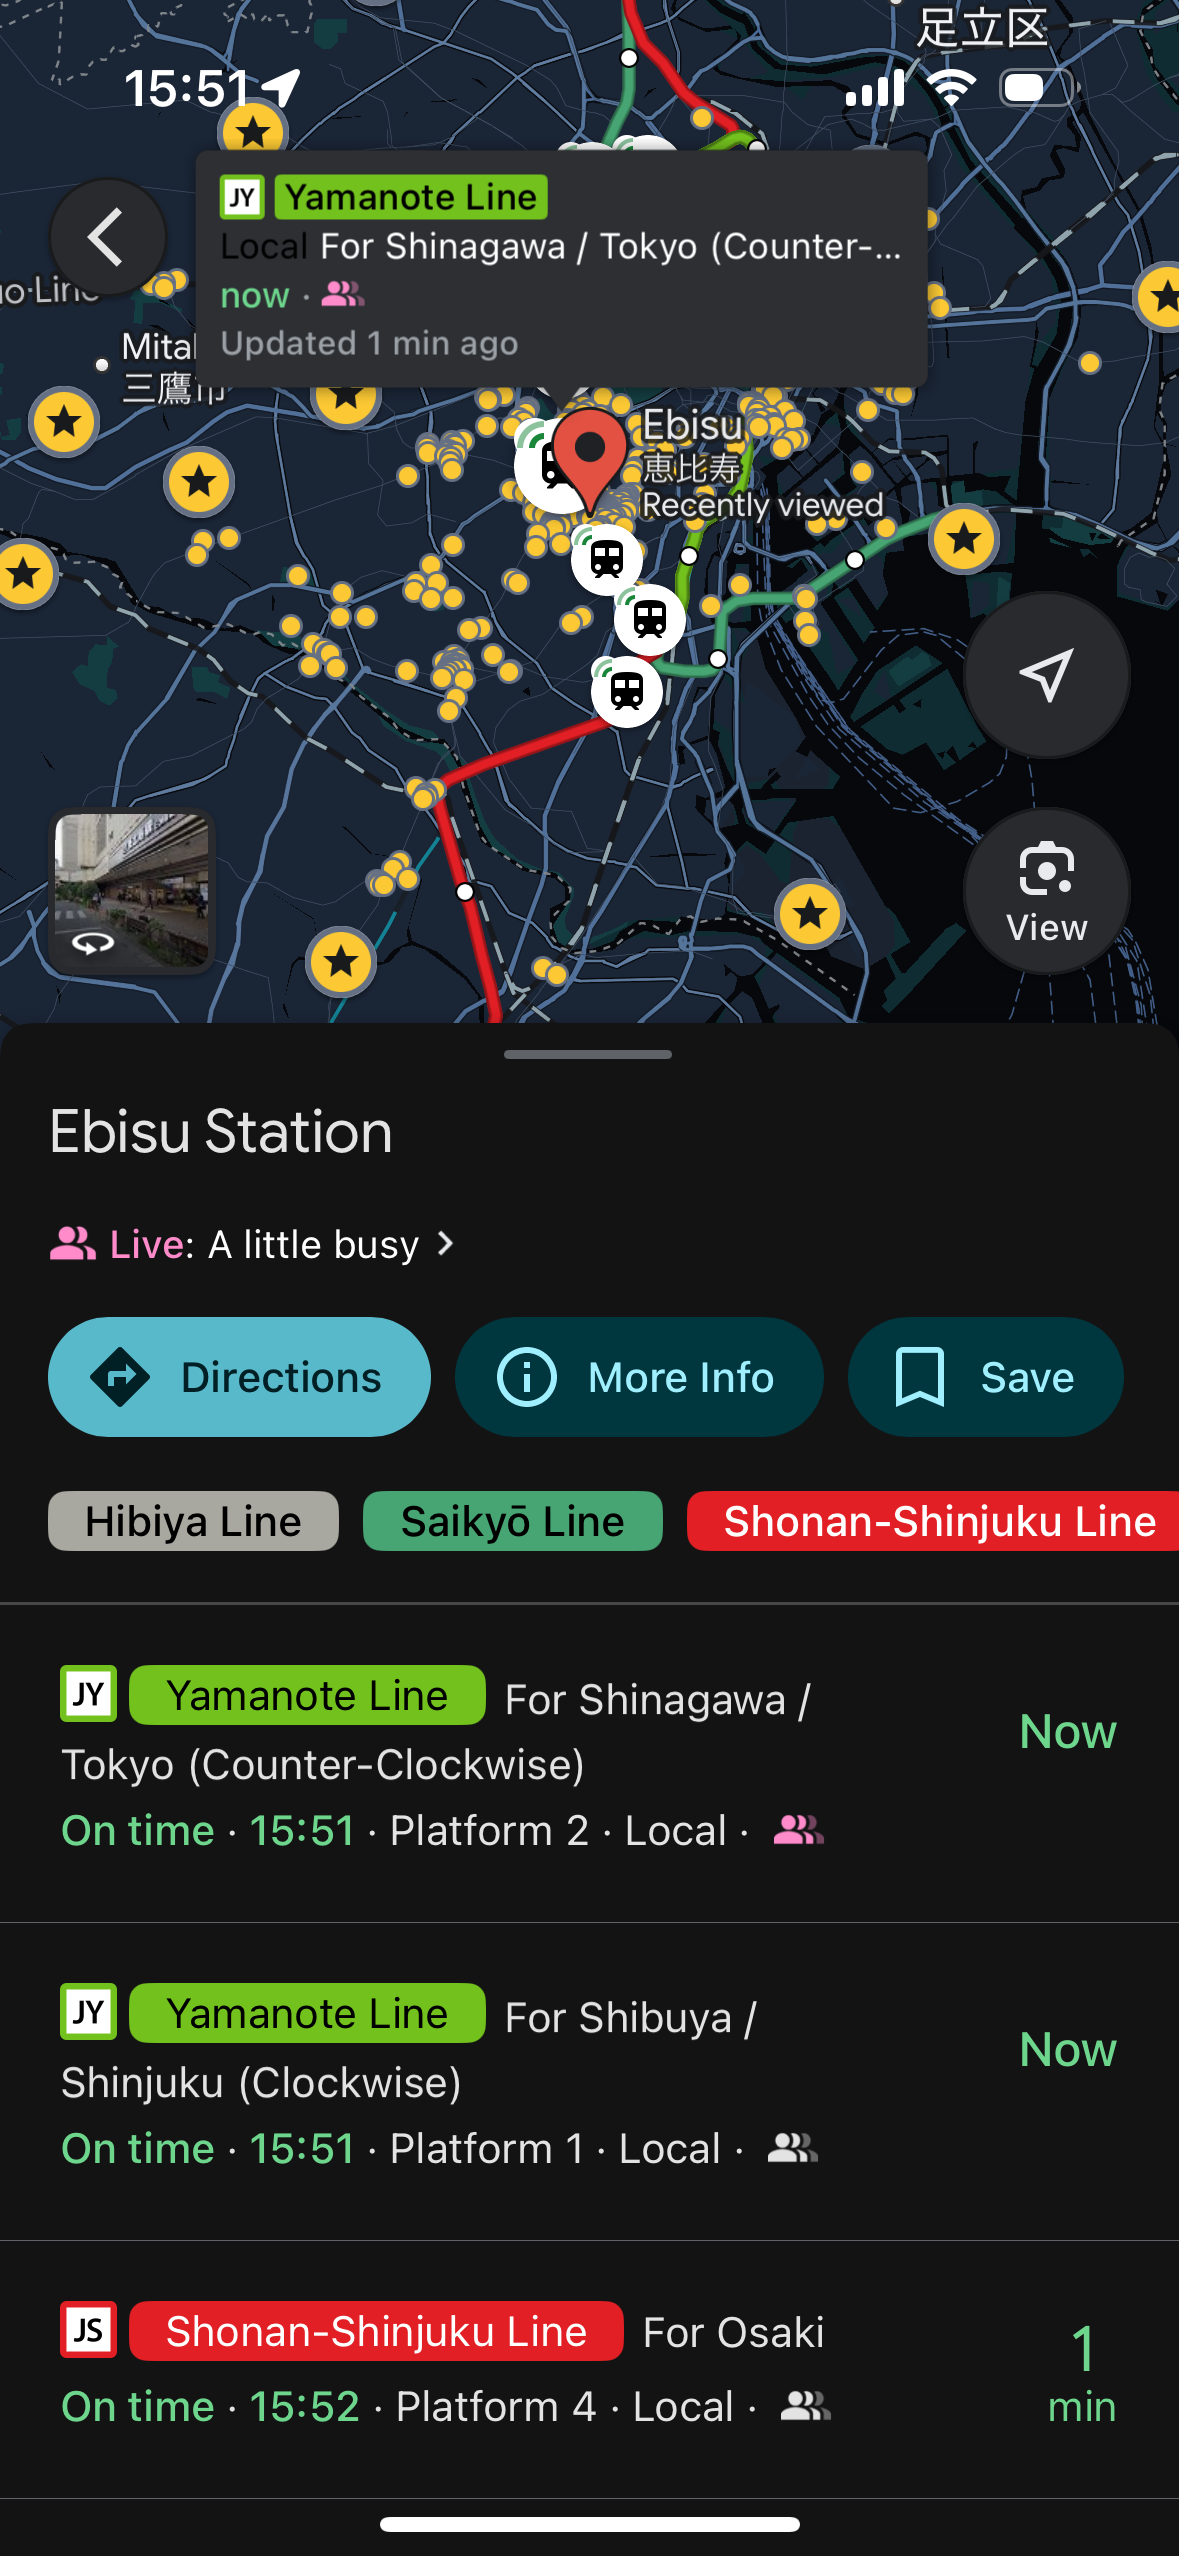
Use case: browsing waypoints while en route
When using Google Maps for routing, it’s not possible to browse waypoints like restaurants while you’re in the middle of navigating. Using another app for routing (not only Eki Bright) allows you to still search for a restaurant at your destination while still being able to keep track of your departure time.
When does it not make sense to use DIY routing?
Unfamiliar routes
Straight up, if you don’t know how to get from your departure station to your arrival station, it will be frustrating and difficult (but not impossible) to derive an ideal route using the Eki Bright UX.
Comparing multiple routes
If you think you have the option of using two different routes, but aren’t sure which is better (i.e. faster, cheaper), Eki Bright will not be useful in making that decision.
Ultra-short routes with no fixed schedule
The Yamanote line only has one type (“local”) and comes quite frequently (every ~3-4 minutes). Although it has a published schedule, in most cases trains will not wait for their departure time. This makes it ill suited to plan around if it’s the only segment of a trip. You’ll usually want to go to the platform whenever you’re ready to leave (odds are you won’t need to wait long). This is the dream of all public transportation, right?
Planning over one day in advance
Although Eki Bright has access to timetables for weekdays, weekends, and holidays, selecting a schedule other than the current day’s is not currently supported. Also, DIY routes are assumed to be temporary and reset at the end of the day. Therefore, you can’t use Eki Bright to plan routes in advance.
My progression of designing DIY routing
Eki Bright started as a list of stations and the station timetable for each.
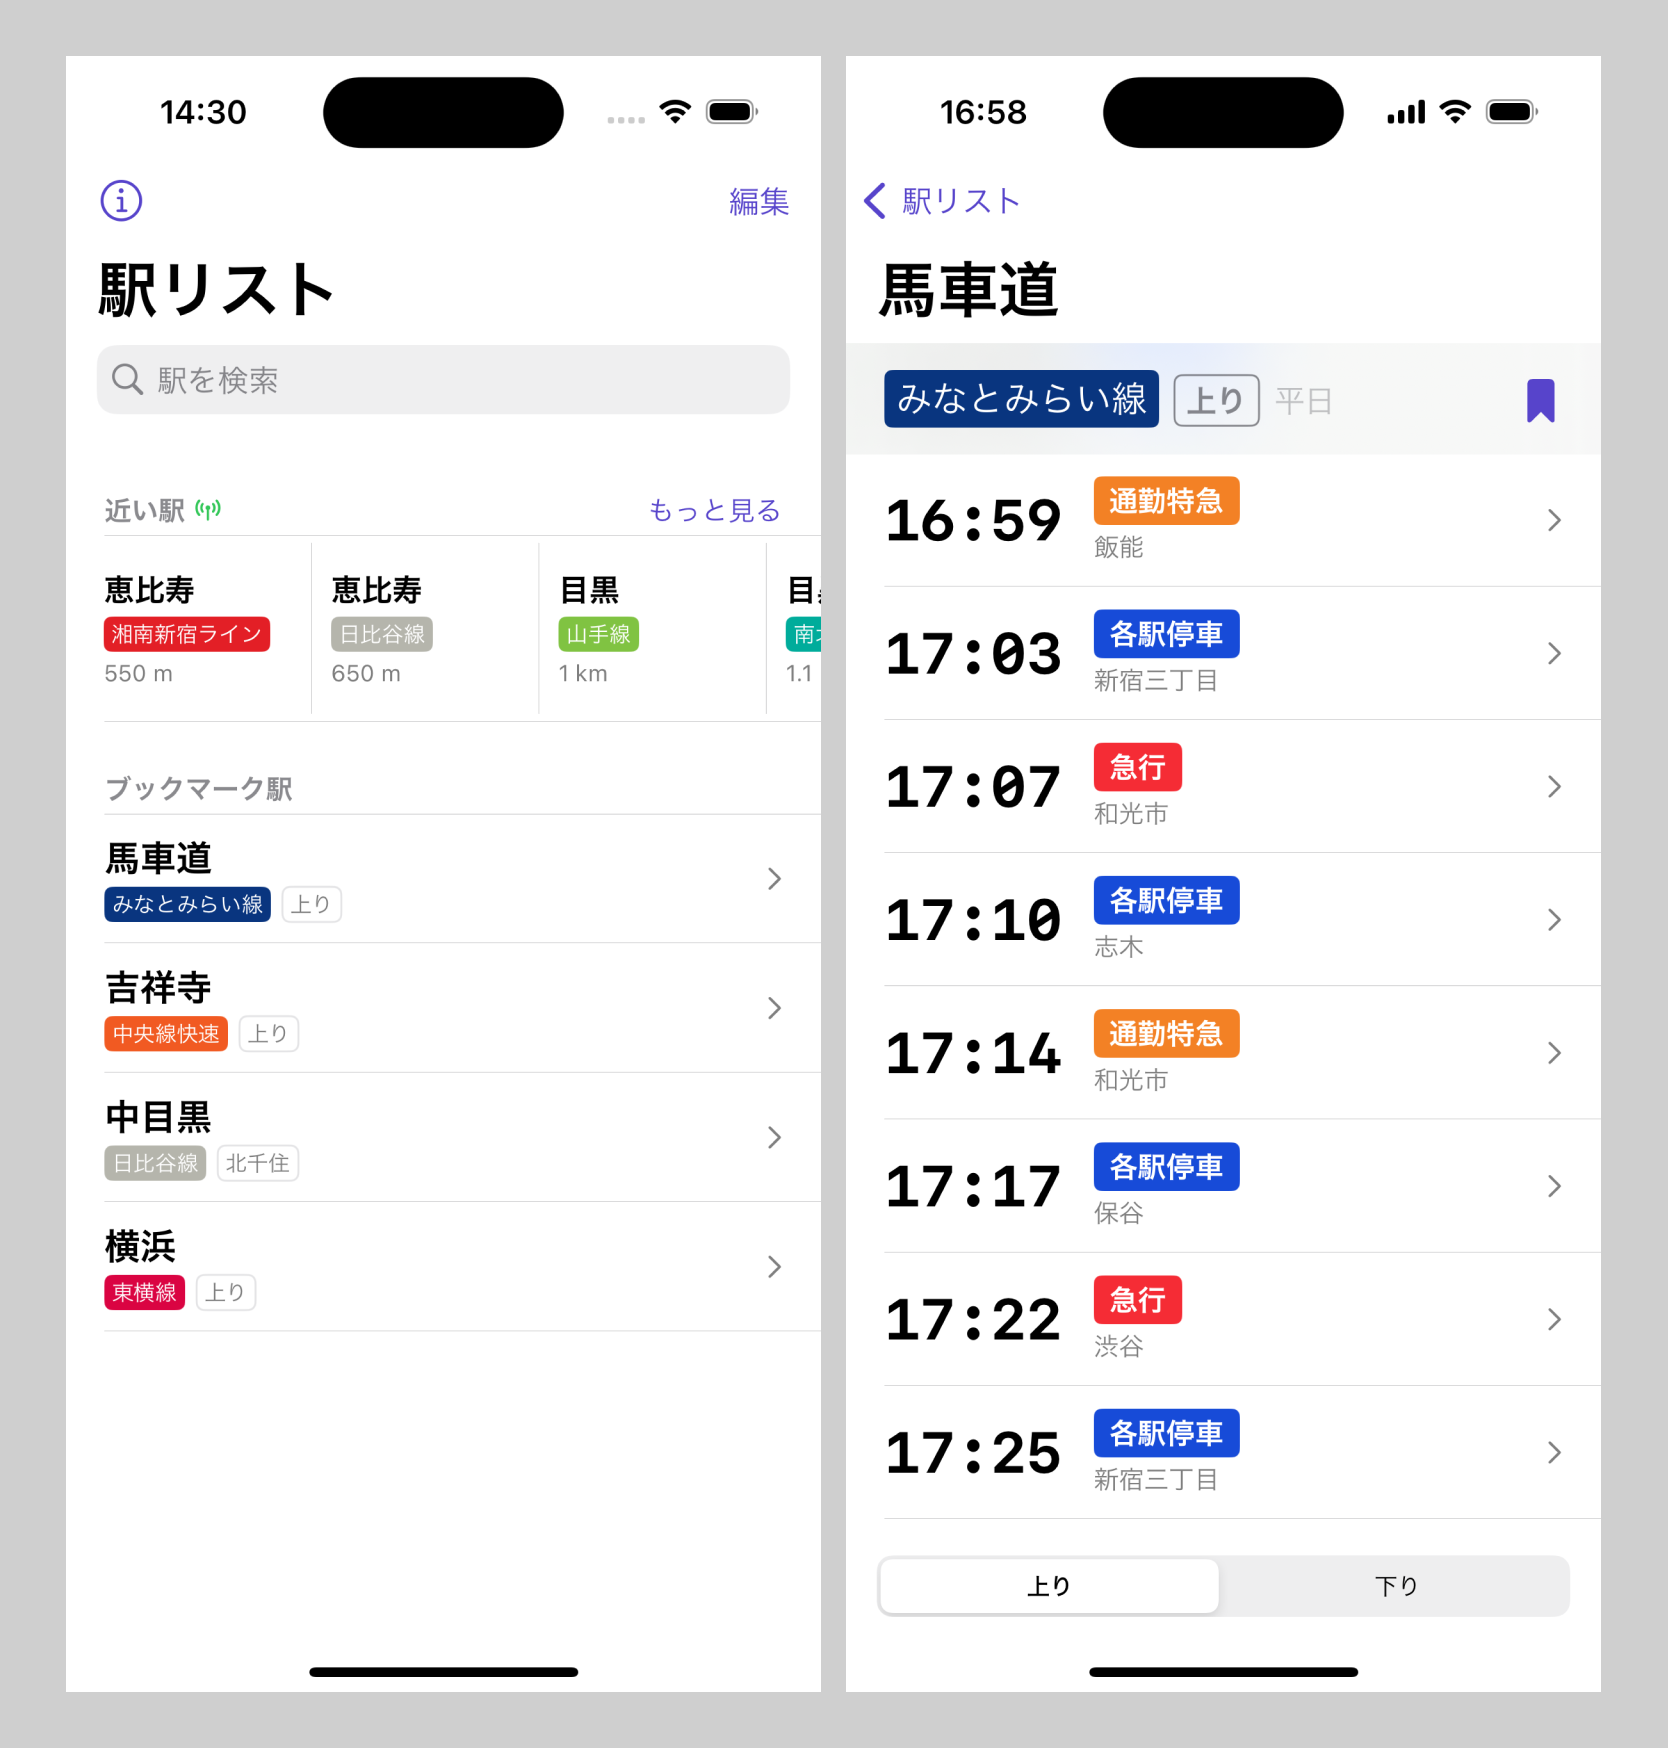
Right before launch, I decided to add the train timetable for each departure as a third layer of the navigation.
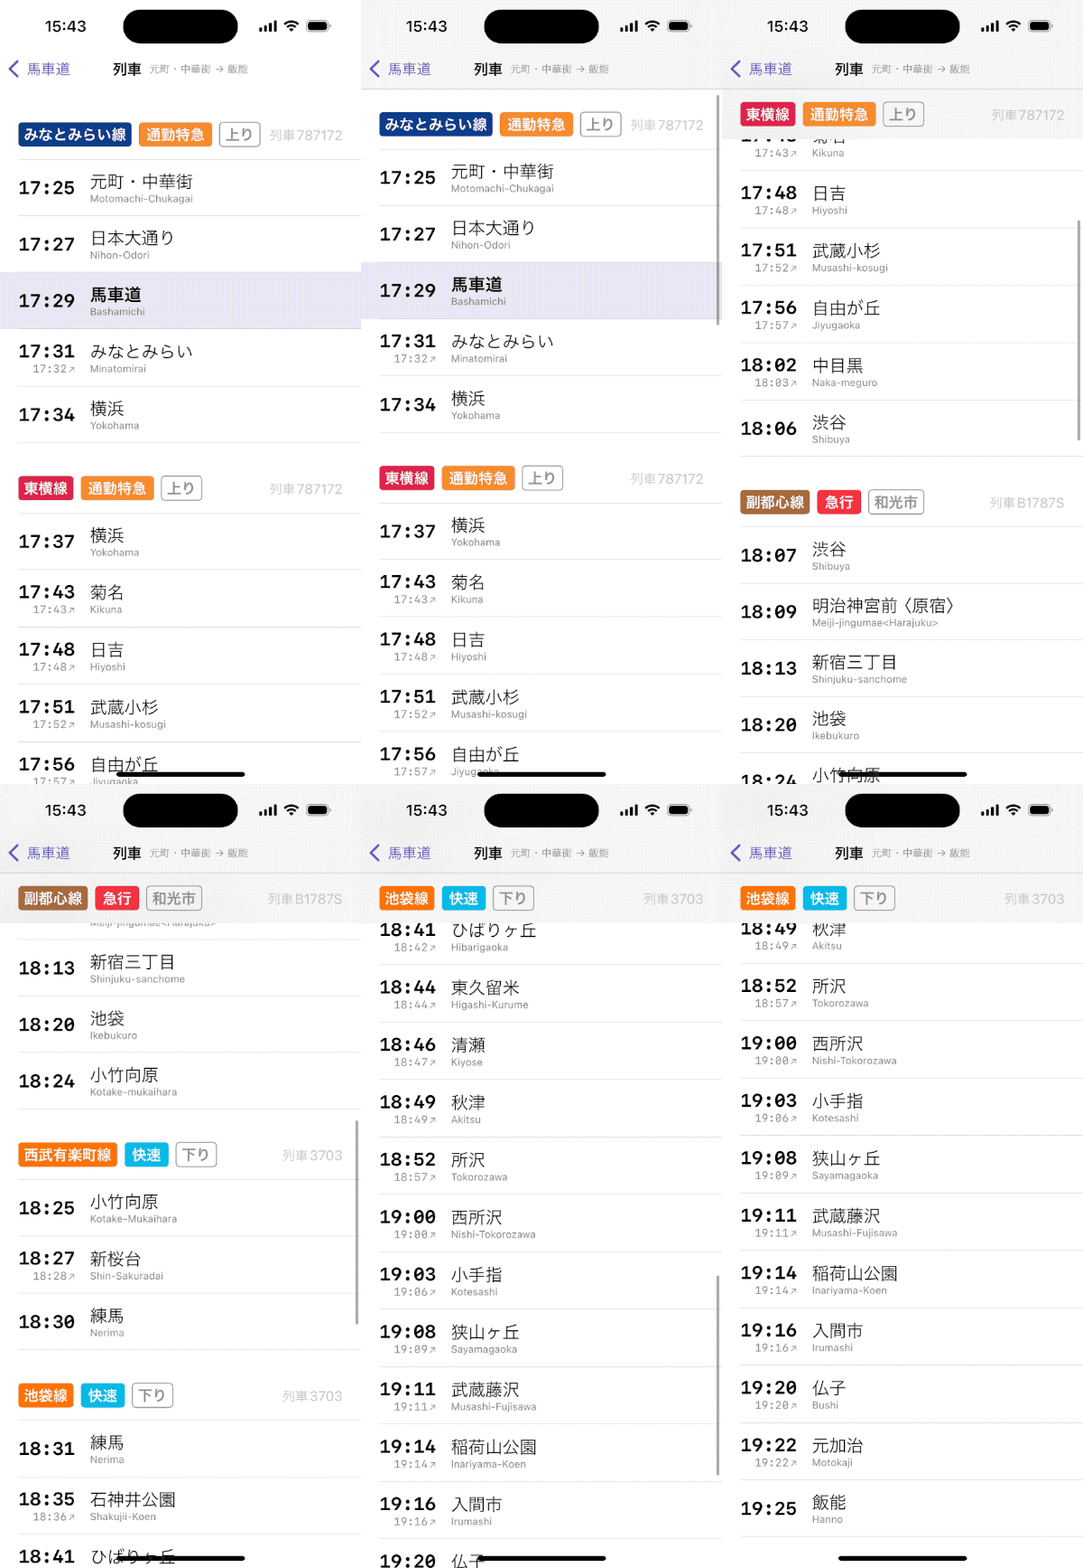
This was arguably unnecessary, but as soon as I added it, I immediately found it useful. I could now:
- Check which stations any train stopped at.
- Check the arrival time of the train at my destination station.
For a single-segment trip, this was useful enough. I started using Eki Bright for more than I originally expected to.
However, this interface didn’t work for two segment trips that required a transfer. To work around the limitation, I needed to make a mental note of the arrival time of the first segment, then go back to the home screen and search for that station. But this would mean I lost access to the timetable of the first train.
From here, the next logical step was linking a station in the train timetable screen to its station timetable. This would make it quicker to tap through and see the departure and arrival times for the full route, but I’d need to pop the stack to see earlier times.
After creating some other features, I finally decided to tackle routing. My idea was maintain a bottom toolbar that floated above all screens and showed the route as the user was assembling it. I added a button to each station on the train timetable screen to allow the user to add a departure or arrival station to a route segment.
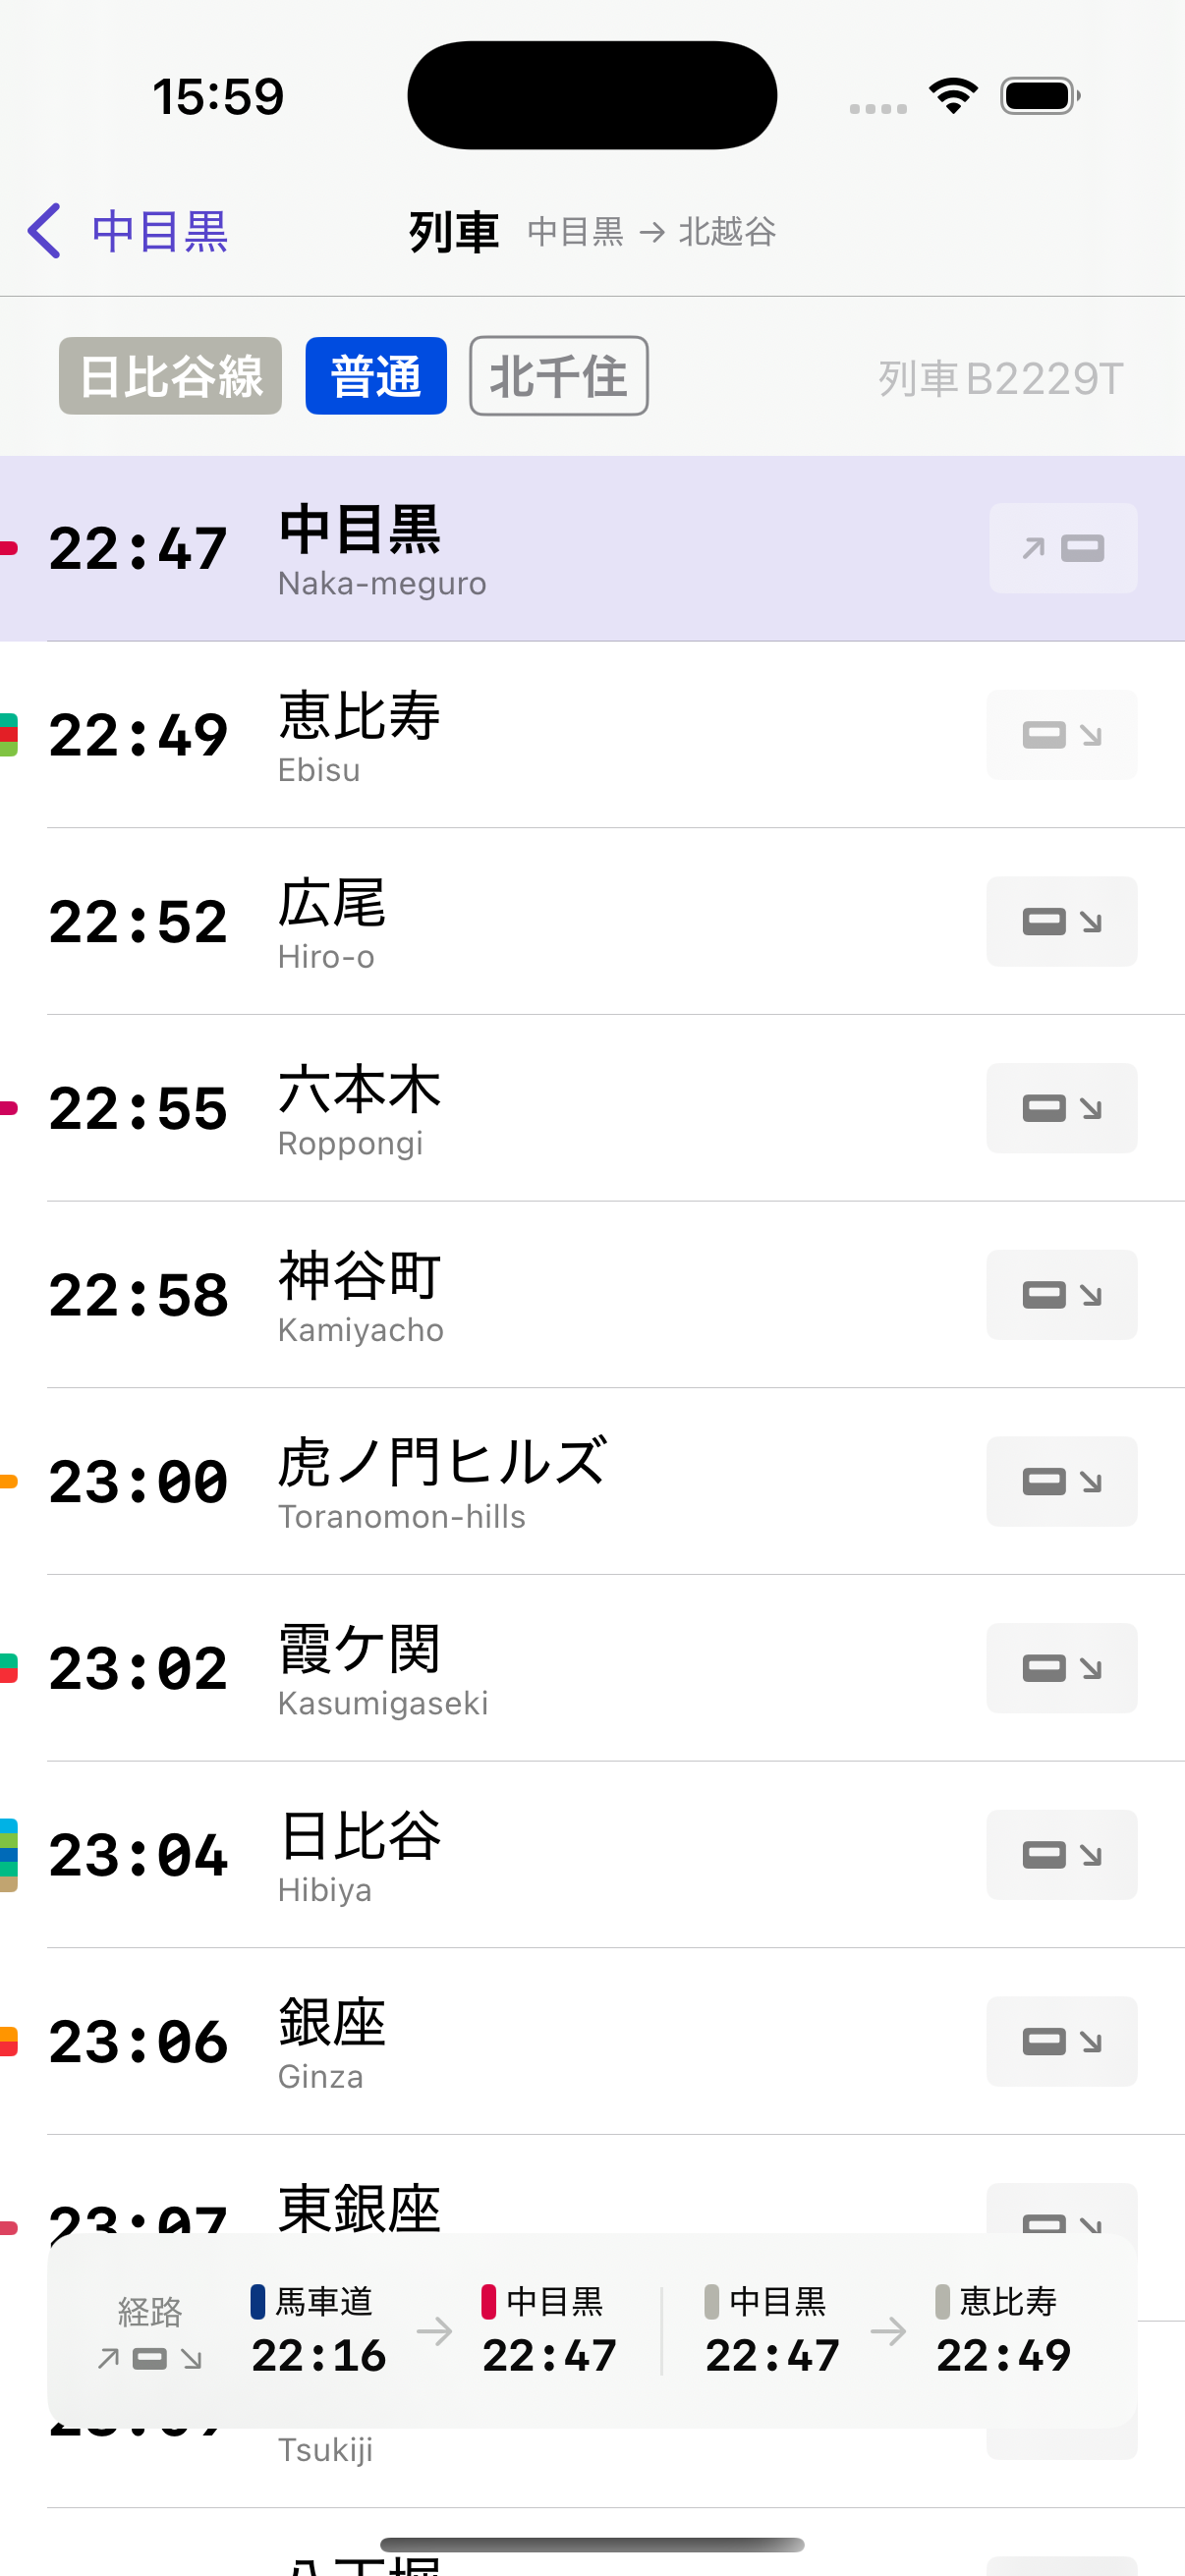
This UI immediately solved a lot of my problems. The implementation was more difficult than I expected though. I wanted to support alternate departures out of the gate, and alternate departures need to account for a selected destination segment since not all trains go to all destinations. Plus I needed to show the user when the route configuration was not temporally possible. All the usual hardening aspects of creating a production-ready feature.
But once I had the chance to use DIY routing in the field, I found it fun. Tapping through a couple screens, choosing my trains, switching up my departure times on the fly; I felt like I was in full control.
It was an obvious next step to add Live Activities and Dynamic Island support (which presented their own implementation challenges). Once these were implemented, DIY routes felt even more like the logical jumping off point for several other features that continued to improve the experience of riding trains.
The last complementary feature I added before taking a breather was share cards. I found myself often screenshotting and cropping the route bar after I’d created a DIY route and sending it via messaging apps to my friends to tell them when I’d arrive to meet them. So I added a share button and made an attractive little PNG image that’s easy to copy or export to share.
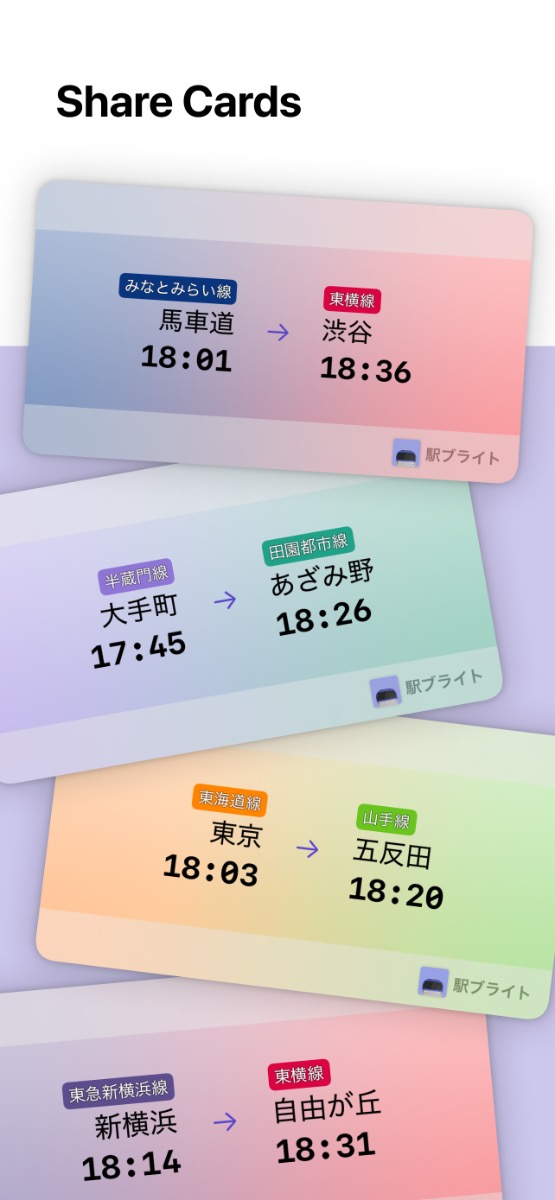
From my past product experience, having some sort of shareable content is a surefire way to increase interest in your app. For a train timetables app, external sharing is a tough proposition. But hopefully these share cards will help spread the word assuming I can get enough users to the bottom of that long funnel.
How to convince/teach people to try/use DIY routing
After developing this feature from scratch and using it for a few months, I’m sold. I think DIY routing is great and I use it for 90% of my trips around Tokyo.
But I’ll admit I haven’t figured out a way to convince people to try using DIY routing in Eki Bright. This blog post is a way to get my thoughts and arguments in order.
I spent a couple weeks gently polishing the UX and adding the Live Activities feature in order to make the effort of making a DIY route better rewarded. But now I need to actually convince users to try it, and also effectively teach them how to use it.
Is the most effective teaching method tooltips? An interactive onboarding? A video tutorial? All of the above? This will be a future task.